Last Updated: October 23, 2026
Quick Summary
Preventing water damage during building cleaning means controlling where water goes, how much reaches a surface, and how fast everything dries afterward. Photograph existing damage, seal windows and doors, set containment before spraying, extract standing water within minutes, and verify dryness with a moisture meter against your pre-job baseline.
- Water damage has surpassed fire as the leading cause of property loss in commercial real estate.
- Mold can start growing within a day or two of water exposure, so remediation delays get expensive fast.
- The EPA advises drying water-damaged areas and items within 24 to 48 hours to help prevent mold growth.
- Wood framing and drywall typically need to read below 16% moisture content before an area counts as dry.
- Match containment to the method: berms and socks for washing, wet vacuums and squeegees for floor scrubbing.
Table of Contents
- Why Water Damage Prevention Matters During Building Cleaning
- Commercial Building Exterior Cleaning Checklist: Pre-Job Prerequisites
- Building Envelope Inspection Before Pressure Washing
- How to Protect Windows and Doors During Pressure Washing
- Soft Washing Commercial Buildings: Low-Pressure Methods That Reduce Water Intrusion
- Water Containment, Extraction, and Drying Verification
- Common Mistakes That Cause Water Damage During Cleaning
- Frequently Asked Questions
Why Water Damage Prevention Matters During Building Cleaning
Water damage has surpassed fire as the leading cause of property loss in commercial real estate, according to Marsh McLennan Agency’s 2026 loss-prevention analysis. For the broader context of commercial property exterior maintenance in Florida, where water intrusion and humidity risks are highest, that control matters even more.
The stakes are simple. Remediation costs climb sharply with every day of delay, and mold can start growing within a day or two of water exposure (Envigilance commercial prevention guide). Cleaning pushes hundreds of gallons at a structure.
Below, we walk through the checklist, the methods, and the mistakes that separate a clean building from a soaked one.
Commercial Building Exterior Cleaning Checklist: Pre-Job Prerequisites
A commercial building exterior cleaning checklist starts before any equipment leaves the truck. The first step is a walkthrough that documents existing damage, so nobody blames the wash for a crack that was already there.
Run through these items before you start:
- Photograph existing cracks, stains, and loose sealant
- Confirm all windows and doors close and latch fully
- Locate exterior outlets, vents, and HVAC intakes
- Check that downspouts and storm drains flow freely
- Identify grading and where runoff will pool
If you are planning a larger commercial job, our guide on best pressure washing for commercial buildings covers equipment and approach in more depth. Skipping this step is how small oversights become expensive surprises.
Never start washing without confirming window seals and door gaskets. A failed seal lets water into wall cavities, and that damage often stays hidden until mold appears weeks later.
Building Envelope Inspection Before Pressure Washing
A building envelope inspection before pressure washing answers one question: where can water get in? The envelope is the outer shell of the building, including walls, windows, doors, and roof edges.
Walk the perimeter and check these zones:
- Caulking around windows and expansion joints
- Cracks in stucco, brick, or siding
- Roof flashing and the seal at roof-to-wall junctions
- Weep holes in masonry walls
- Gaps around pipes, vents, and utility penetrations
Mark every defect with tape or chalk. Then adjust your spray pattern to avoid those areas. A focused stream aimed at a hairline crack can push water deep into the wall.
How to Protect Windows and Doors During Pressure Washing
Protecting windows and doors during pressure washing comes down to sealing the openings and keeping spray off the edges. Water forced past a gasket is the most common way a wash ends up inside a building.
Here is how we handle it:
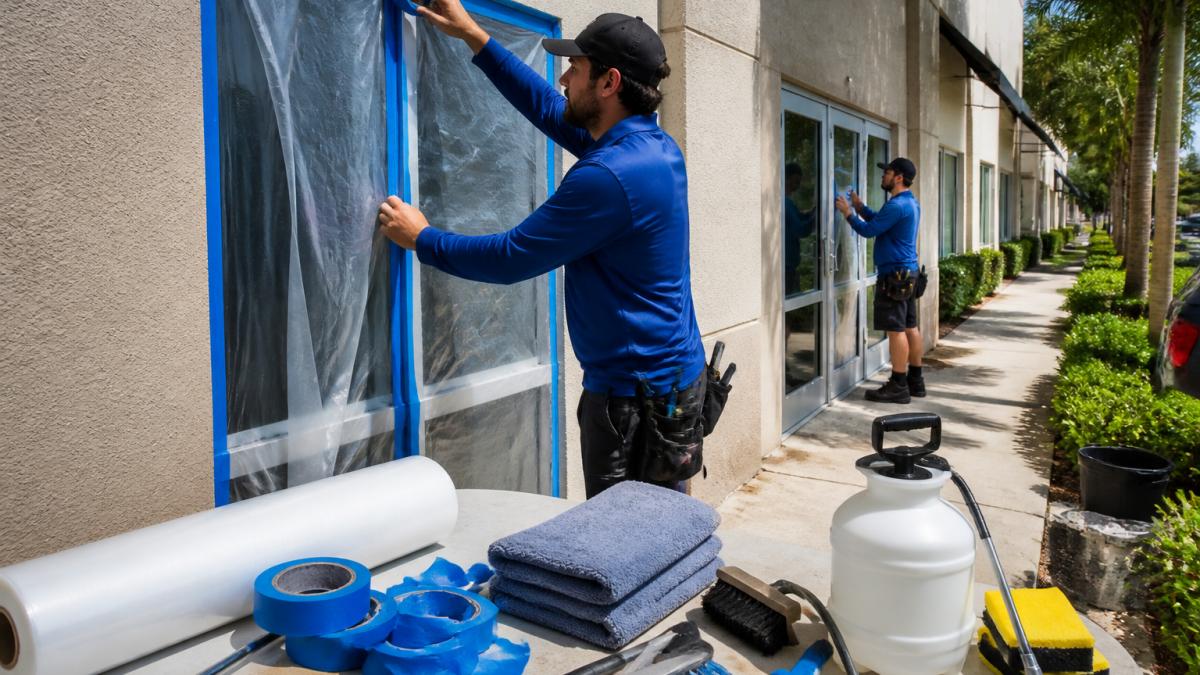
- Tape plastic sheeting over window frames and door seals
- Keep the wand tip at least a few feet back from glass
- Spray at an angle, never straight into a seam
- Work top to bottom so clean water rinses dirty water down
- Remove coverings and dry frames right after the rinse
Glass and seals are not the only weak points. Check door thresholds and the base of every frame once you finish.
Soft Washing Commercial Buildings: Low-Pressure Methods That Reduce Water Intrusion
Soft washing commercial buildings uses low pressure and cleaning solution instead of force. The method relies on the chemistry to lift mold, algae, and grime, then a gentle rinse carries it away.
Soft washing suits surfaces that pressure can damage:
- Painted siding and stucco
- Roof shingles and tiles
- Wood and composite trim
- Screens, gutters, and downspouts
The lower flow also reduces runoff volume, which matters near storm drains. If you are weighing methods, our comparison of soft washing versus pressure washing breaks down where each one fits.
Water Containment, Extraction, and Drying Verification
Containment and drying are where amateurs stop and professionals keep going. Water containment means blocking runoff from reaching storm drains and sensitive areas. Extraction means removing standing water fast. Drying verification means confirming materials are actually dry, not just dry to the touch. This is also where cleaning-specific risks diverge from general leak prevention: pressure washing, floor scrubbing, carpet extraction, and wet mopping each introduce water differently, so the containment and drying plan must match the method.
Containment by cleaning method
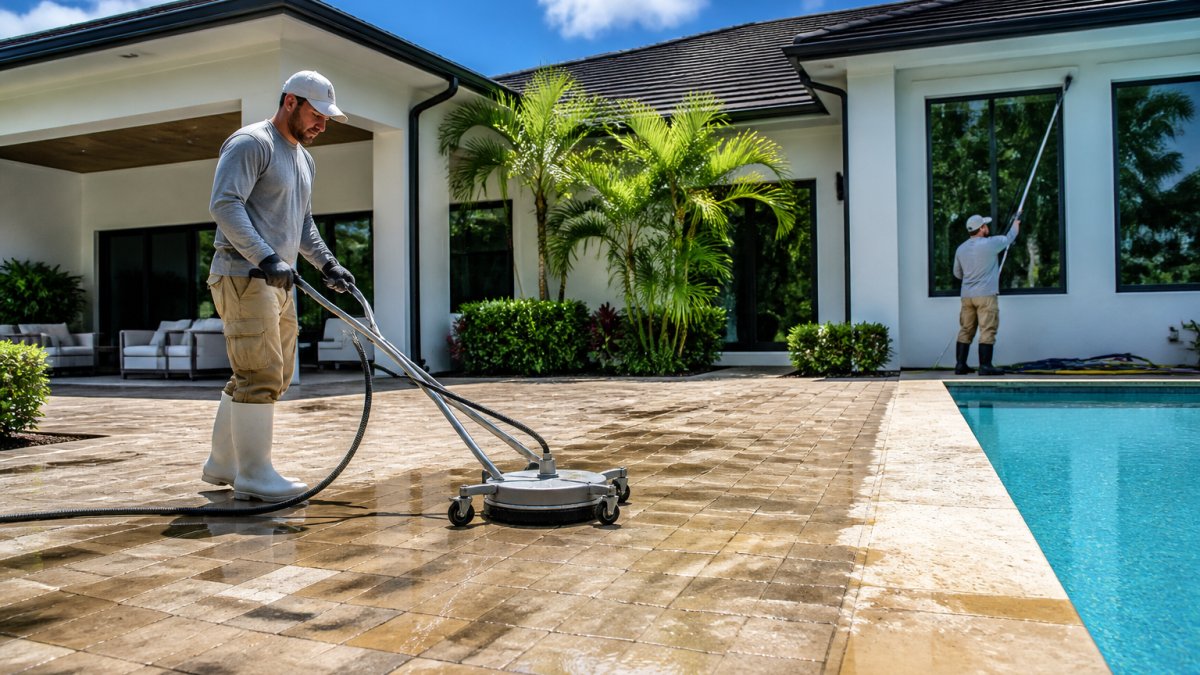
- Pressure washing and soft washing: Use berms, absorbent socks, and tarps to direct runoff away from foundations, storm drains, and landscaping. On paver sealing and driveway cleaning jobs, pre-wet surrounding surfaces and control flow so soapy runoff does not sheet into garage doors or pool decks.
- Floor scrubbing and wet mopping: Deploy wet vacuums and squeegees at the edges of the work zone. On hard floors, use containment barriers at doorways and elevators to keep water from migrating into tenant spaces.
- Carpet extraction: Extract in overlapping passes and verify that no water wicks back into seams or baseboards. Extraction that leaves moisture below the surface is a common cause of delayed mold growth.
- Steam cleaning: Low moisture output reduces runoff volume, but condensate still collects on floors and in equipment. Place absorbent mats under the unit and check adjacent materials afterward.
Extraction and recovery
Remove standing water within minutes, not hours. Wet vacuums and squeegees handle flat surfaces and low spots; absorbent socks and pads catch what the vacuum misses. On exterior jobs such as house wash and exterior home cleaning, direct runoff toward pervious surfaces or collection points rather than letting it pool against the foundation. On pool deck cleaning, keep runoff out of the pool and away from equipment pads.
Drying verification and moisture targets
The EPA advises drying water-damaged areas and items within 24 to 48 hours to help prevent mold growth (EPA mold and moisture guidance). A moisture meter tells you the truth when a surface looks dry but is not. Meter the same spots before and after every job and write the readings down.
Set drying targets by material: wood framing and drywall typically need to read below 16% moisture content before an area is considered dry, while concrete and masonry may read higher but should trend downward toward the pre-job baseline. When you are ready to hire help, learn what to check in insured pressure washing companies in Florida before you book.
Meter the same spots before and after every job and write the readings down. A baseline reading protects you if a tenant later claims the wash caused a leak.
Cleaning around electrical, mechanical, and occupied areas
Isolate exterior outlets, HVAC intakes, and mechanical equipment before any water application. Use lockout procedures where equipment could be energized, and coordinate with tenants on move-in or delivery schedules so wet floors and slip hazards do not catch anyone off guard. On soft wash roof cleanings, protect sensitive rooms below by checking ceiling tiles and attic spaces for moisture after the job.
Containment and drying steps vary by cleaning method, so match the plan to the job.
| Cleaning method | Containment step | Key risk |
|---|---|---|
| Pressure washing and soft washing | Berms, absorbent socks, tarps direct runoff away | Soapy runoff sheeting into garage doors or pool decks |
| Floor scrubbing and wet mopping | Wet vacuums and squeegees at work zone edges | Water migrating into tenant spaces |
| Carpet extraction | Overlapping passes; check seams and baseboards | Moisture left below surface causes delayed mold |
| Steam cleaning | Absorbent mats under unit; check adjacent materials | Condensate collects on floors and in equipment |
Common Mistakes That Cause Water Damage During Cleaning
Most water damage during cleaning traces back to a handful of avoidable errors, and the biggest is too much pressure aimed at the wrong place. But the mistakes that matter most are cleaning-method-specific, and general prevention guides rarely cover them. Here are the ones that show up repeatedly on exterior and interior cleaning jobs.
Method-specific mistakes
- Pressure washing at full force near seams and weep holes. A focused stream aimed at a hairline crack or weep hole can push water deep into the wall cavity. On brick and masonry, weep holes exist to let moisture out; forcing water in defeats their purpose.
- Soft washing without rinsing runoff from sensitive surfaces. Soft washing uses less pressure but more solution. If runoff is not controlled, it can pool on pool decks, stain driveways, or carry cleaning chemicals into storm drains.
- Floor scrubbing without edge containment. Water migrates under baseboards and into adjacent rooms when there are no barriers at doorways. This is a common cause of warped flooring and mold in occupied buildings.
- Carpet extraction that leaves moisture below the surface. Overlapping passes and post-extraction moisture checks are essential; extraction that looks dry on top can leave enough moisture for mold to start within 48 hours.
- Wet mopping near electrical equipment and outlets. Water on floors near exterior outlets or mechanical rooms is a slip and electrical hazard. Isolate and seal those areas before mopping.
- Ignoring gutter and downspout blockages during roof cleaning. Soft wash roof cleanings push water onto roofs; if gutters are blocked, water backs up under shingles and against fascia.
Pre-cleaning and post-cleaning checklist
A repeatable workflow catches these mistakes before they become claims:
- Photograph existing cracks, stains, and loose sealant.
- Confirm all windows and doors close and latch fully.
- Locate exterior outlets, vents, and HVAC intakes and seal them.
- Check that downspouts and storm drains flow freely.
- Identify grading and where runoff will pool.
- Set containment (berms, socks, tarps) before water is applied.
- After cleaning, extract standing water and meter the same spots you baselined.
- Confirm surfaces are dry to the meter, not just to the touch, before reopening the area.
For a deeper walkthrough of safe technique, read our guide on avoiding property damage during a pressure wash.
The cheapest insurance against cleaning-related water damage is a slow pre-job inspection, method-matched containment, and a moisture meter. All three cost little and catch the problems that turn into claims.
Frequently Asked Questions
How do you prevent water from entering a building during pressure washing?
Water damage prevention starts before the wand is turned on. Inspect the building envelope for cracks, failed sealant, and loose flashing, then seal or avoid those areas. Tape plastic over windows, doors, and vents, and direct spray downward at a shallow angle. Keep water flow away from electrical panels and mechanical rooms. Use soft washing commercial buildings at low pressure where seals are questionable, and verify interior dryness within 24 to 48 hours, the window the EPA gives for drying water-damaged areas to help prevent mold growth.
What should be covered before cleaning a building exterior?
Cover windows, doors, vents, electrical outlets, HVAC intakes, and any exterior fixtures with plastic sheeting and waterproof tape. Protect outdoor lighting, security cameras, and signage the same way. Move or cover patio furniture and grills. On a commercial building exterior cleaning checklist, also note downspout openings and storm drains so runoff is directed away from the foundation. Covering these openings blocks the main paths water uses to get inside during cleaning.
Can pressure washing damage windows, doors, or siding?
Yes. High pressure can force water past window seals, strip caulk from door frames, and crack vinyl or wood siding, especially on older buildings. That is why building envelope inspection before pressure washing matters: check seals and flashing first, then reduce pressure or switch to soft washing commercial buildings where materials are fragile. Direct spray at a downward angle and keep the nozzle moving. Damage often shows up later as fogged glass, swollen trim, or moisture inside the wall cavity.
When should a soft wash be used instead of high-pressure cleaning?
Use soft washing commercial buildings when surfaces are delicate or water-sensitive: painted wood, stucco, vinyl, roofing shingles, and any area with aging seals. Soft washing relies on cleaning solution and low pressure to lift mold, algae, and grime, so it reduces the chance of forcing water behind the building envelope. High pressure suits concrete, pavers, and driveways. If the building envelope inspection before pressure washing finds failed sealant or cracks, soft washing is the safer choice.