Last Updated: November 19, 2026
Quick Summary
Professional paver sealing reduces weed growth but does not stop it entirely. Sealer blocks water penetration into joint sand and makes it harder for weed seeds to take root, yet it cannot kill seeds already buried or stop new ones from blowing in.
- Professional paver cleaning and sealing typically runs $300 to $550 depending on patio size and sealer choice.
- Pull weeds by hand, roots and all, and clear joints of loose soil before any machine touches the surface.
- Polymeric sand first, then a sealer suited to the finish you want, delivers the highest weed suppression.
- Apply sealer when surface and air temperatures are between 50°F and 80°F, with no rain forecast for 24 hours.
- Inspect joints every three to four months for new growth and sand loss.
Table of Contents
- Does Paver Sealing Prevent Weeds?
- How to Prepare Pavers for Sealing
- Polymeric Sand for Pavers: Joint Stabilization That Supports Weed Control
- Joint Sand, Polymeric Sand, or Sealer: Choosing the Right Combination
- DIY Weed Removal vs. Professional Paver Sealing
- Weather, Drainage, and Application Conditions That Affect Results
- Realistic Durability and Maintenance Expectations
- Schedule Your Paver Cleaning and Sealing
- Frequently Asked Questions
Does Paver Sealing Prevent Weeds?
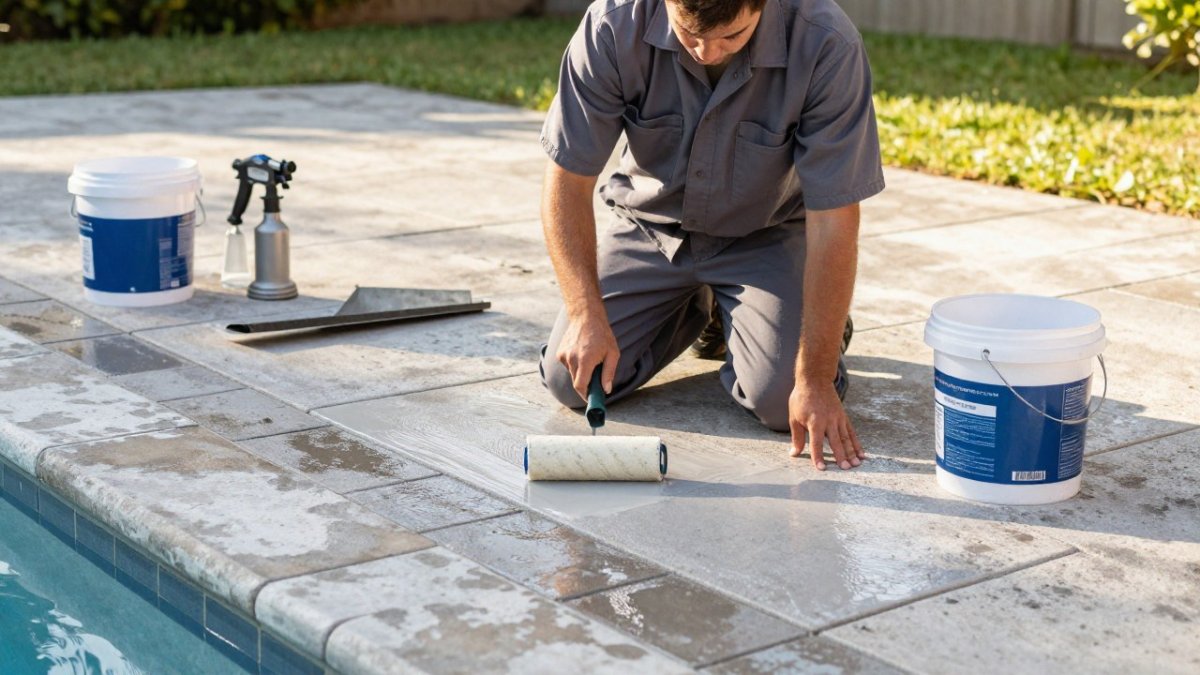
Professional paver sealing for weed control reduces weed growth but does not stop it entirely. Sealer blocks water penetration into joint sand and makes it harder for weed seeds to take root, yet it cannot kill seeds already buried or stop new ones from blowing in.
That distinction matters more than most homeowners realize. Homeowners often expect sealing to be a permanent fix, and weeds can return in the same joints over time. Sealing helps. It just isn’t a wall.
According to Angi’s paver cleaning and sealing cost guide, professional paver cleaning and sealing typically runs $300 to $550 depending on patio size and sealer choice. That is real money, and it deserves an honest answer about what it delivers.
How Sealer Limits Moisture and Weed-Seed Establishment
Weed seeds need three things to sprout in a paver joint: soil, moisture, and light. Sealer attacks the moisture piece.
A quality sealer forms a film across the paver surface and penetrates the joints, creating a moisture barrier that limits water penetration. Fewer seeds land in damp sand. Fewer seeds that land find conditions worth sprouting in. Freedom Wash Club’s guide on whether paver sealing prevents weed growth explains that sealing significantly reduces weed growth by blocking water infiltration and making it harder for seeds to take hold.
The joint sand matters here too. When sealer locks joint sand in place, that sand stops washing out during rain. Stable joints mean fewer gaps for seeds to settle into. That is the mechanism, and it is a good one.
Why Sealing Alone Does Not Eliminate Weeds
Here is the part competitors gloss over. Paver Protector’s sealing guidance notes that sealing makes pavers more resistant to weeds but not weed-proof. Seeds already sitting in the joint sand under the sealer can still germinate. Seeds that blow in later can still find a crack.
Sealing is weed suppression, not weed elimination. Treat it as one layer of a maintenance plan, alongside joint sand stabilization, drainage correction, and periodic inspection. Anyone promising a weed-free patio forever is selling you something that does not exist.
How to Prepare Pavers for Sealing
Preparation decides whether the sealer performs. Sealer applied over damp pavers, trapped moisture, or organic debris will fail early, and the weed control you paid for never materializes.
The Concrete Masonry & Hardscapes Association’s technical guidance makes the point plainly: newly cleaned pavement is the right moment to apply joint sand stabilizers or sealer, and stain removers and cleaners should be used first to get maximum results. Clean surface first. Sealer second. Always.
Removing Existing Weeds and Debris From Joints
Pull weeds by hand, roots and all, before any machine touches the surface. Then clear the joints of loose soil, leaf litter, and old sand. Skipping this step traps organic material under the sealer, and trapped moisture is exactly what weed seeds want.
For a hands-on walkthrough of the cleaning stage, see this step-by-step DIY driveway cleaning guide. If the joints are heavily infested, a targeted herbicide may be appropriate before cleaning. Read and follow the label, and give it time to work before you wash.
Pressure Washing and Surface Preparation
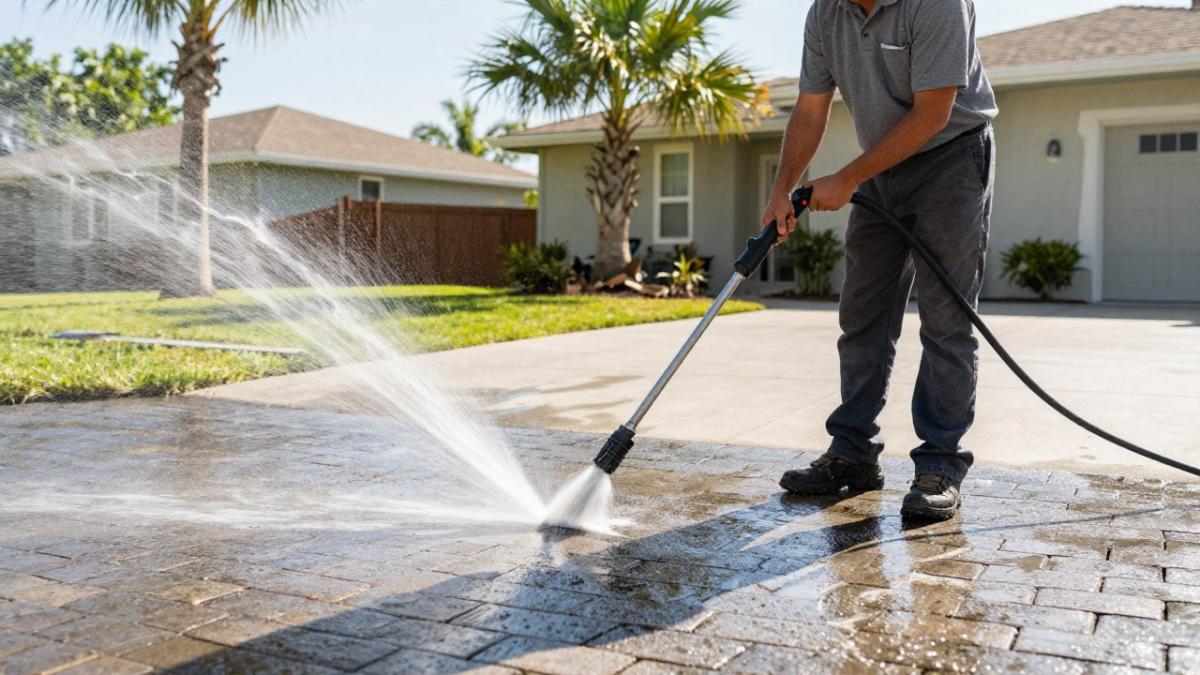
Pressure washing strips dirt, algae, and old sealer residue, but it has to be done correctly. Too much pressure on interlocking pavers can erode joint sand and pit the surface, which creates the very gaps weeds love. If you plan to handle this stage yourself, review whether you can pressure wash pavers before sealing before you start.
Let the pavers dry completely. Sealing damp pavers locks moisture underneath, and that film will cloud, peel, or fail within months.
Polymeric Sand for Pavers: Joint Stabilization That Supports Weed Control
Polymeric sand is a joint sand blended with a polymer binder that hardens when activated with water, locking the sand into a firm, weed-resistant surface. It is the single biggest upgrade most paver installations can make for long-term weed control.
Standard joint sand shifts, washes out, and leaves gaps. Polymeric sand sets up and holds. Paver sealer then sits on top and seals the whole system. Together they do far more than either one alone.
For a fuller breakdown of the options, read this guide to the benefits of polymeric sand for pavers before you choose a joint sand.
Joint Sand, Polymeric Sand, or Sealer: Choosing the Right Combination
Most homeowners treat these as three versions of the same product. They are not. Each does a different job, and the combination you pick determines how well professional paver sealing for weed control actually performs.
| Option | What It Does | Weed Control Strength | Best For |
|---|---|---|---|
| Standard joint sand | Fills joint gaps | Low, washes out | Temporary fill before a full refresh |
| Polymeric sand | Hardens and locks joints | High | Most residential paver surfaces |
| Film-forming sealer | Blocks water penetration | Medium, protects surface | Sealing over stable joints |
| Penetrating sealer | Soaks in, no surface film | Medium, less visible | Natural-look finishes |
| Polymeric sand + sealer | Locks joints and blocks moisture | Highest | Long-term weed suppression |
Our recommendation is straightforward: polymeric sand first, then a sealer suited to the finish you want. Sealer alone over loose, shifting sand is money spent on a surface that will open back up.
DIY Weed Removal vs. Professional Paver Sealing
DIY weed removal is cheaper upfront and works fine for light, surface-level growth. Professional paver sealing costs more and delivers a level of surface preparation that hand-pulling cannot match.
| Factor | DIY Weed Removal | Professional Paver Sealing |
|---|---|---|
| Upfront cost | Low | Higher, varies by square footage |
| Time required | Recurring, every few weeks | One visit plus curing time |
| Joint stabilization | Rarely addressed | Sand and sealer handled together |
| Equipment needed | Hand tools, maybe a sprayer | Commercial pressure washing and sealer |
| Results duration | Weeks to a season | Multiple seasons with maintenance |
| Risk of surface damage | Moderate to high | Low with an experienced crew |
The honest split: if you have a handful of weeds and a free Saturday, DIY is fine. If your joints are failing across a driveway, patio, or pool deck, professional work pays for itself in time and in avoiding a redo.
Weather, Drainage, and Application Conditions That Affect Results
Weather and drainage are not background variables, they are the difference between a sealer that cures into a durable film and one that fails within a season. Most manufacturers publish application windows on the label, and those numbers exist for a reason.
Watch out: applying sealer in the morning when dew is still on the pavers traps moisture under the film. That moisture has to go somewhere, and it usually comes up as clouding or peeling within weeks.
Drainage is the quieter problem. Low spots that hold water after rain keep joints damp, and damp joints grow weeds no matter how good the sealer is. Before sealing, walk the surface after a heavy rain and note where water ponds.
Humidity matters too. In areas where relative humidity stays above 80%, some sealers take longer to cure and remain tacky for hours, attracting dust and debris.
Realistic Durability and Maintenance Expectations
Sealer durability depends on sealer type, climate, and traffic, and no sealer lasts forever. Film-forming sealers typically last longer on low-traffic patios than on driveways, where tire wear and UV exposure break down the film faster. Penetrating sealers may need reapplication sooner but leave a more natural look.
In wet, humid climates, maintenance demands go up. One homeowner discussion in a high-rainfall area noted that sealing diminishes weeds but ongoing upkeep is still required where rainfall is heavy.
A realistic maintenance rhythm looks like this:
- Inspect joints every three to four months for new growth and sand loss
- Pull small weeds early, before roots spread and loosen the joint
- Top off joint sand where it has washed out, polymeric sand if the joint is clean and dry
- Reapply sealer when water stops beading on the surface or the film looks worn
- Schedule a professional cleaning and re-sealing every few years as part of a broader exterior home cleaning plan
Watch out: sealing over a joint that already has weeds growing through it traps the weed under the film. The weed dies, but the organic matter stays in the joint and creates a void where the next seed lands. Always remove weeds and refresh joint sand before reapplication.
That is the honest picture. Sealing buys you cleaner joints and fewer weeds, not a permanent vacation from maintenance. Pair it with regular driveway cleaning and pool deck cleaning to keep the surface free of debris that holds moisture and seeds.
Schedule Your Paver Cleaning and Sealing
The challenge is simple: you want a driveway, patio, or pool deck that stays clean and weed-free without spending your weekends fighting it. Sealing done right, with proper preparation and the right joint sand, gets you most of the way there.
Freedom Wash Club handles the full job, from pressure washing and joint prep through sealer application. We are licensed and insured, locally owned and operated with over 10 years of experience, and we schedule by phone or text. Our 100% satisfaction guarantee backs the work.
If you are ready to stop pulling weeds and start enjoying your pavers, compare soft wash roof cleaning and professional paver sealing services and request your free quote.
Weed control on pavers is a system, not a single product, and the crews who understand that get better results. Freedom Wash Club brings licensed and insured service, more than a decade of experience, and easy phone or text scheduling to every job.
Frequently Asked Questions
Does paver sealing prevent weeds from growing between pavers?
Paver sealing reduces weed growth but does not stop it completely. Sealer blocks water infiltration and stabilizes joint sand, which makes it harder for weed seeds to take root. Sealing significantly reduces weed growth by limiting moisture and seed establishment. However, sealing does not make pavers weed-proof. Seeds can still land in joint gaps, and organic debris can collect over time. Expect fewer weeds and easier maintenance, not a permanent barrier.
Can you seal over weeds or cracks between pavers?
No. Sealing over existing weeds traps moisture and organic matter under the sealer, which leads to adhesion failure and faster re-growth. Cracks and joint gaps must be cleared of weeds, roots, and debris first. Pressure washing and joint cleaning are part of how to prepare pavers for sealing. If weeds are left in place, the sealer cannot bond properly to the paver surface, and the application may peel or haze within months.
Does polymeric sand help stop weeds between pavers?
Polymeric sand for pavers fills joint gaps and hardens when activated with water, creating a flexible barrier that resists weed seeds and reduces joint erosion. It works best when paired with a locking sealer. Polymeric sand alone can degrade over time from weather and foot traffic, so reapplication may be needed. Joint stabilization with polymeric sand is a key step before sealing, but it does not replace ongoing maintenance in wet climates.
How long should pavers dry before they are sealed?
Pavers should dry for at least 24 to 48 hours after cleaning and joint sand installation before sealer is applied. Moisture trapped in the paver surface or joints prevents proper adhesion and can cause a cloudy or patchy finish. Weather conditions matter: avoid sealing when rain is forecast within 24 hours or when temperatures are below the sealer manufacturer’s recommended range. Proper drying time is one of the most overlooked steps in how to prepare pavers for sealing.