Table of Contents
- Should You Pressure Wash Pavers Before Sealing?
- How to Clean Pavers Before Sealing
- Best Pressure Washer Nozzle for Pavers
- How Long to Wait to Seal Pavers After Washing
- Replacing Polymeric Sand After Pressure Washing
- Protecting Pavers from Pressure Washing Damage
- When Not to Pressure Wash Pavers
- Frequently Asked Questions
Last Updated: October 10, 2026
Should You Pressure Wash Pavers Before Sealing?
Yes, you should pressure wash pavers before sealing. Pressure washing removes dirt, grime, weeds, and organic growth that would otherwise trap moisture under the sealer. A clean surface allows the sealer to bond properly and protect your pavers effectively.
Without cleaning, trapped debris prevents the sealer from bonding to the paver itself, leading to premature failure and peeling. Pressure washing eliminates this problem by exposing the paver’s actual surface.
The key is using the right pressure and technique. Too much force damages the pavers and washes out joint sand. Too little leaves contaminants behind. The following sections explain exactly how to clean pavers safely and prepare them for sealing.
Most homeowners skip pressure washing because they think sealer alone will clean their pavers. It won’t. Sealer protects a clean surface, it doesn’t clean a dirty one. Pressure washing first guarantees better results and longer-lasting protection.
How to Clean Pavers Before Sealing
Start by sweeping the patio or driveway to remove leaves and debris. Then apply a surface cleaner or pressure washer to remove embedded dirt.
Removing Dirt, Grime, and Organic Growth
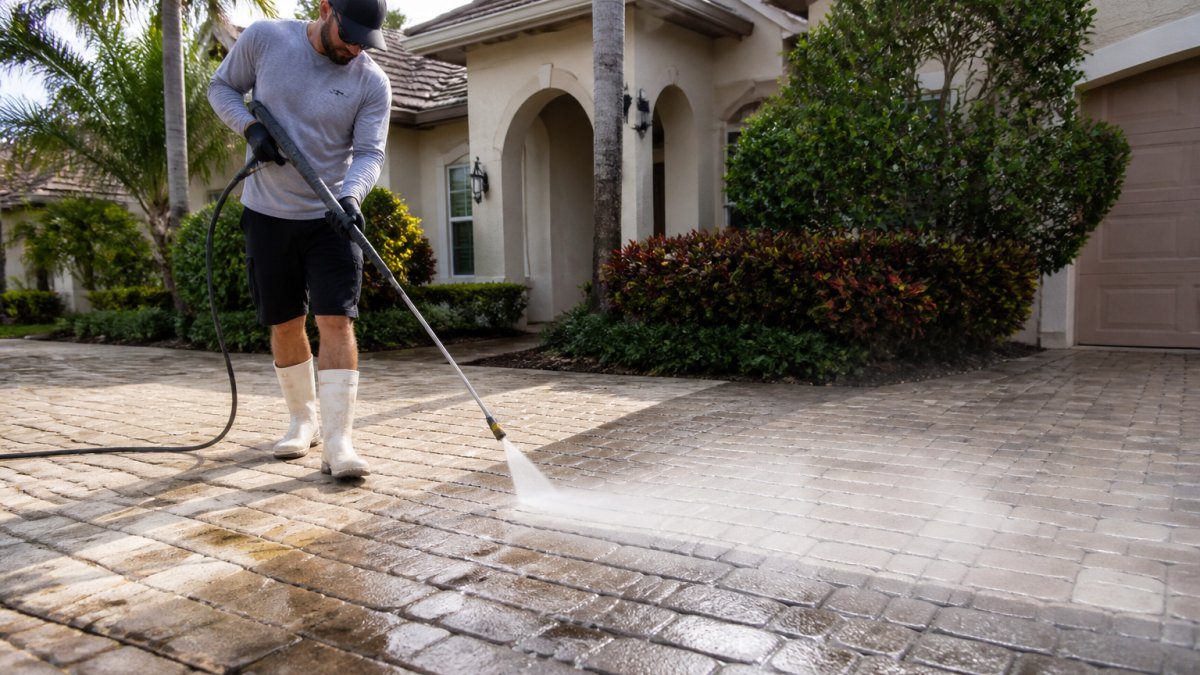
Pressure washing removes dirt, grime, algae, and moss, exposing clean paver stone underneath.
Start with low to medium pressure (1,500-2,000 PSI) for standard pavers. Hold the nozzle 12-18 inches away from the surface and move steadily across. Avoid staying in one spot too long, which can damage the paver or create uneven patterns.
For stubborn stains or heavy organic growth, use a surface cleaner attachment, which distributes pressure evenly, covers more area faster, and produces consistent results.
Pressure above 3,000 PSI on residential pavers risks cracking the stone and blasting out joint sand. Even if it removes stains faster, the damage isn’t worth it. Stick to 2,000 PSI or lower for safety.
Addressing Weeds and Roots in Joints
Weeds grow in the sand between pavers. For persistent weeds, remove them manually or use a herbicide before pressure washing.
Pull visible weeds by hand and dig out deep roots with a flat tool. Then pressure wash the joint to clear remaining debris.
If chemical treatment is necessary, apply a herbicide designed for pavers and wait 24-48 hours before pressure washing.
Best Pressure Washer Nozzle for Pavers
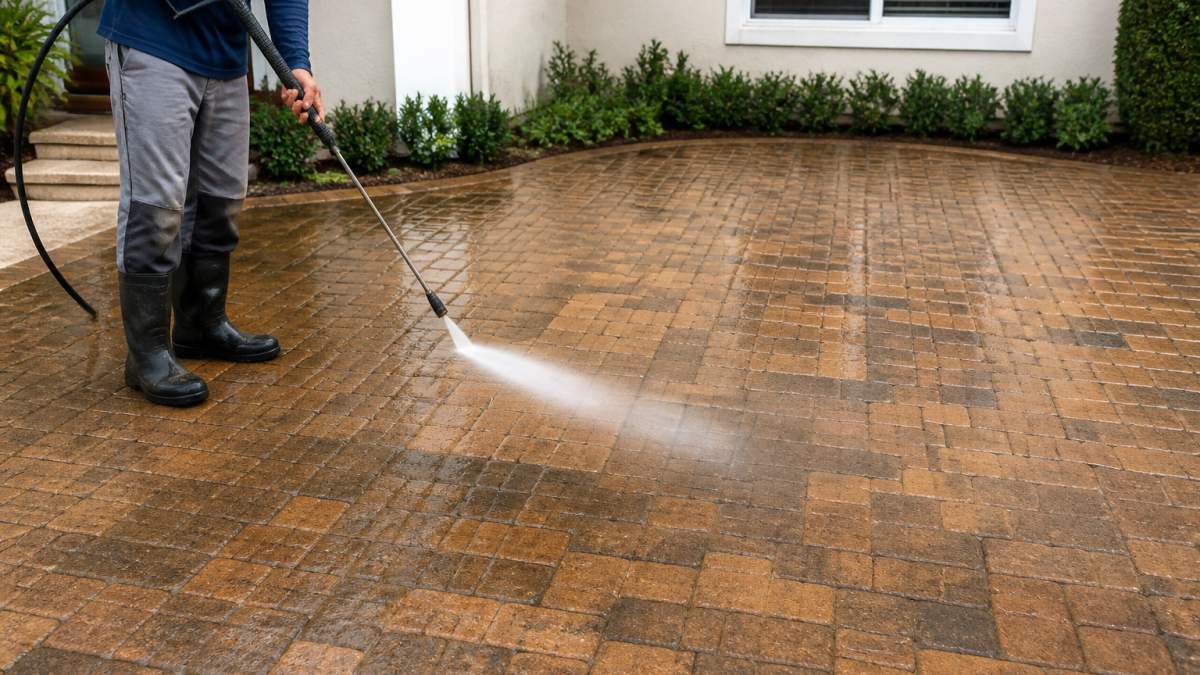
A 40-degree nozzle is ideal for general cleaning. A 25-degree nozzle works for stubborn stains but requires careful technique. Never use a 0-degree nozzle on pavers, it cracks stone and blasts out sand.
Pressure and PSI Settings by Paver Type
Different paver materials tolerate different pressures. Natural stone pavers need lower PSI; concrete pavers tolerate more pressure.
Use 1,500 PSI maximum for natural stone and 2,000-2,500 PSI for concrete pavers. When in doubt, start low and increase gradually.
Test your pressure washer on a hidden area first. This reveals how the specific machine and nozzle combination affects your pavers. Small test areas prevent costly mistakes on visible surfaces.
Using a Surface Cleaner for Even Results
A surface cleaner attachment sprays water in two opposite directions, preventing streaking and uneven cleaning.
Surface cleaners distribute force more evenly than hand-held nozzles, cover large areas faster, and produce consistent results.
Push the surface cleaner at a normal walking speed to avoid dirty stripes and wasted time.
How Long to Wait to Seal Pavers After Washing
Pavers must dry completely before sealing. Moisture trapped under sealer prevents proper adhesion, causes uneven color, and allows mildew and efflorescence (white mineral deposits) to develop underneath the protective layer. Most pavers need 48-72 hours to dry fully, but timing varies significantly based on material, weather, and subsurface conditions.
Drying Time by Paver Type and Weather
Concrete pavers typically dry in 48 hours in warm, dry conditions. Natural stone is more porous and can take 72 hours or longer.
Hot, dry, sunny days speed evaporation; cool, cloudy, or humid conditions slow drying by 24-48 hours. In coastal or humid climates, moisture can linger in the paver base even after the surface feels dry.
A breezy day accelerates evaporation. If possible, schedule pressure washing on a warm, sunny, breezy day to minimize drying time.
Checking Moisture Before Sealing
Don’t rely on appearance or touch alone, moisture can remain trapped inside the stone or base layer.
The calcium chloride test is the most reliable method for concrete pavers.
The dark spot test works for a quick visual check. Wet a small area and compare color to dry areas. Once they match, surface moisture has evaporated, but use this alongside the calcium chloride test to confirm subsurface dryness.
The weight test is useful for smaller pavers. Weigh a paver immediately after washing and again after 24, 48, and 72 hours. Once weight stabilizes, the paver is ready for sealing.
Efflorescence and Residual Stains
White, chalky deposits (efflorescence) sometimes appear after pressure washing. These are mineral salts indicating moisture is still moving through the paver. Do not seal over efflorescence.
Wait for efflorescence to fade naturally or brush it away gently. If it returns, the pavers are still too wet. Once it stops appearing and pavers pass the calcium chloride test, sealing is safe.
Some stains (rust, tannins, algae residue) may remain after pressure washing. If they bother you, apply a chemical stain remover designed for pavers, rinse thoroughly, and retest for moisture before sealing.
Rushing to seal before pavers are completely dry is the most common and costly mistake. Trapped moisture leads to sealer failure, peeling, uneven color, and mildew growth. The extra 24-48 hours of patience pays off with protection that lasts 3-5 years instead of failing in months. When in doubt, wait another day and retest.
Replacing Polymeric Sand After Pressure Washing
Pressure washing removes sand from between pavers. This sand must be replaced before sealing to prevent water infiltration, weed growth, and shifting. Polymeric sand is preferred because it locks in place when activated with water, resisting washout and weeds.
Inspecting and Preparing Joints
After pressure washing, inspect joints for areas where sand is visibly low or missing. If you can feel the base layer or the joint is noticeably shallow, re-sanding is necessary.
Before adding new sand, clean joints completely with a stiff brush or joint-cleaning tool. Use a shop vacuum for clogged joints. A clean joint ensures the new polymeric sand bonds properly.
For very deep joints (more than 1 inch), add a base layer of regular sand first, then top with polymeric sand. Most polymeric sands work best in joints 1/4 to 1/2 inch deep.
Selecting and Applying Polymeric Sand
Choose polymeric sand rated for your paver type and climate. In humid or coastal areas, select a product with mildew and algae inhibitors.
Here’s the step-by-step application process:
-
Sweep the surface clean. Remove all dust and debris from the paver tops before applying sand.
-
Pour polymeric sand into the joints. Work in small sections and use a broom or joint-filling tool to push sand into the gaps.
-
Sweep excess sand off the pavers. Remove all loose sand to prevent a rough, uneven finish when water is applied.
-
Lightly mist with water. Use a garden hose with a misting nozzle to dampen the sand. A light mist activates the polymeric binder; heavy water causes the sand to settle unevenly or wash out.
-
Allow the sand to set. Most polymeric sands require 24-48 hours to fully cure before sealing. Check product instructions for any second misting requirement.
Never flood joints with water or use a pressure washer to activate polymeric sand. Excessive water washes the sand out of the joints and prevents proper bonding. A light mist from a garden hose is all that’s needed. If you over-water, the sand may need to be removed and reapplied.
Timing Between Sand Replacement and Sealing
Do not seal pavers until the polymeric sand has fully cured. Sealing over wet sand traps moisture and prevents proper hardening.
Wait at least 24-48 hours after the final misting before sealing. In cool or humid conditions, extend the wait to 72 hours.
Before sealing, inspect joints. The sand should feel firm and solid. If any sand is loose or joints feel damp, wait another day.
Repairing Lifted or Damaged Pavers
If pressure washing lifted a paver or you discover a cracked paver, address it before re-sanding. A lifted paver creates uneven joints; a cracked paver will worsen over time.
For a lifted paver, lift it out, adjust the base sand to level it, and reset it firmly with a rubber mallet. Then proceed with joint sand replacement.
For a cracked paver, remove and replace it with a new one of the same material and size to prevent water infiltration and further damage.
Polymeric sand is only as good as its installation. Rushing the application, over-watering, or sealing too soon are the most common reasons polymeric sand fails. Take time to clean joints, apply sand carefully, activate it properly, and allow full cure time before sealing. This preparation step is as important as the sealing itself for long-term paver protection.
Protecting Pavers from Pressure Washing Damage
Excessive pressure cracks pavers and blasts out sand. Holding the nozzle too close or staying in one spot too long causes uneven damage.
Avoiding Washout and Surface Damage
Washout occurs when high-pressure water forces sand out of joints, weakening the paver structure. Prevention is easier than repair.
Use 2,000 PSI or lower, keep the nozzle 12-18 inches away, use a 40-degree nozzle, and move it continuously.
For edge pavers, reduce pressure to 1,500 PSI and use a wider nozzle angle, these pavers lack support on one side.
Testing Before Full Cleaning
Choose a test area in the corner or behind a planter. Inspect results after 24 hours for cracking, sand displacement, or uneven cleaning. If damage appears, adjust pressure or technique and test again.
Testing prevents costly repairs and is the best insurance against pressure washing mistakes.
When Not to Pressure Wash Pavers
New installations less than 30 days old shouldn’t be pressure washed, the sand hasn’t fully settled. Wait at least 30 days before cleaning.
Pavers with existing cracks or loose edges need careful handling. Have them repaired first or use gentler cleaning methods.
Pavers with existing sealant need special consideration. Check the sealer type before washing. If incompatible with pressure washing, use a soft wash or chemical cleaner instead.
Extremely soft natural stone may require lower pressure or alternative methods. Consult the manufacturer if you’re unsure about your paver material.
Pressure washing is the best way to prepare pavers for sealing. Proper technique, adequate drying time, and sand replacement create a solid foundation for long-lasting sealer protection.
Freedom Wash Club, your locally owned and operated South Florida pressure cleaning and paver sealing experts with over a decade of experience, offers professional, licensed, and insured services for residential and commercial properties.
Frequently Asked Questions
Can you pressure wash pavers before sealing them?
Yes, you should pressure wash pavers before sealing to remove dirt, grime, weeds, and organic growth that would trap moisture under the sealer. Use a 40-degree nozzle at 2,000 PSI or less to clean without damaging the pavers or washing out joint sand. Allow pavers to dry completely before applying sealer, typically 24-48 hours depending on weather and humidity.
How long should pavers dry after pressure washing before sealing?
Pavers need to dry for at least 24-48 hours after pressure washing before sealing. In humid conditions or after heavy rain, allow an extra day. Test the surface by placing plastic wrap on a paver for 2-3 hours; if condensation forms underneath, the pavers are still too wet. Applying sealer to damp pavers traps moisture and causes the sealer to fail or peel.
What pressure and nozzle should you use to clean pavers?
Use a 40-degree nozzle at 1,500-2,000 PSI for most pavers. Concrete pavers tolerate higher pressure than natural stone like travertine or limestone, which require 1,000-1,500 PSI. Keep the nozzle 12-18 inches from the surface and move steadily to avoid damage. A surface cleaner attachment prevents streaking and protects edges better than a handheld wand.
Should you replace joint sand after pressure washing pavers?
Yes, pressure washing removes some joint sand, especially polymeric sand. After the pavers dry completely, inspect joints and add new polymeric sand where needed. Fill joints flush with the paver surface, then sweep off excess. Polymeric sand hardens when exposed to water, creating a strong bond that resists weeds better than regular sand and protects the sealer.