Quick Summary
Maintaining paver sealing after professional application means protecting the surface during the cure period, then following a steady routine of gentle cleaning and periodic checks. Keep traffic and spills off fresh sealer, sweep weekly, rinse with a hose, and use a pH-neutral cleaner. Schedule a professional resealing check every three to five years.
- Keep all foot traffic and vehicles off the surface for the first 24 to 72 hours.
- Sweep weekly with a soft-bristle broom and rinse with a hose every two weeks.
- Use a pH-neutral paver cleaner and avoid bleach, acid cleaners and strong degreasers.
- Limit pressure washing to once or twice a year, using a wide fan tip on low pressure.
- Plan a professional resealing check every three to five years, sooner under heavy exposure.
Table of Contents
- Why Paver Sealing Needs Aftercare Right After Application
- Protecting Sealed Pavers During the Cure Period
- How to Clean Sealed Pavers Safely
- Pros and Cons of Common Cleaning Agents
- A Maintenance Schedule for Sealed Pavers
- How Often to Reseal Pavers and Signs It Is Time
- Booking Your Professional Resealing Check With Freedom Wash Club
- Frequently Asked Questions
7 Steps to Maintain Paver Sealing After Installation
Last Updated: November 13, 2026
Why Paver Sealing Needs Aftercare Right After Application
Paver sealing protects your driveway, patio and pool deck from stains, moisture and fading. But the sealer does not finish its job the moment the crew packs up.
Aftercare is what keeps paver sealing performing. The first weeks matter most, followed by a steady routine of gentle cleaning and periodic checks.
A common mistake is treating sealing as a one-time fix. Sealer is a protective layer, and like any protective layer it wears down under foot traffic, sun, rain and routine cleaning. Staying ahead of that wear costs far less than repairing neglected pavers.
This guide walks through seven practical steps, from the cure period to knowing when to book a professional resealing check.
Protecting Sealed Pavers During the Cure Period
The cure period is the window when sealer hardens into its final protective form. During this time, the surface is still soft enough to scuff, stain or pick up debris.
Keep the area clear for the time your installer recommends. Heavy traffic, furniture, grills and vehicles can all leave marks while the sealer is curing.
Watch the weather too. Afternoon thunderstorms are common in South Florida, and rain on fresh sealer can cause clouding or uneven sheen.
Protecting sealed pavers during the cure period also means avoiding spills. Wipe up oil, grease, fertilizer and drink spills right away, using a soft cloth and plain water.
Once the cure period ends, the sealer is in its working state. You can then return to normal use, though you should still avoid dragging heavy objects across the surface.
Paver sealing can also affect how slippery a surface feels, especially when wet. For more on that, see our guide on does paver sealer make surfaces slippery, and for the color side of things, see how to prevent paver color fading by sealing and protecting. For long-term protection strategies, our guide on 7 steps to extend commercial paver life with sealing covers the broader picture.
How to Clean Sealed Pavers Safely
Routine cleaning keeps sealed pavers looking good, but the wrong method can strip sealer or leave a dull film. Use gentle methods first.
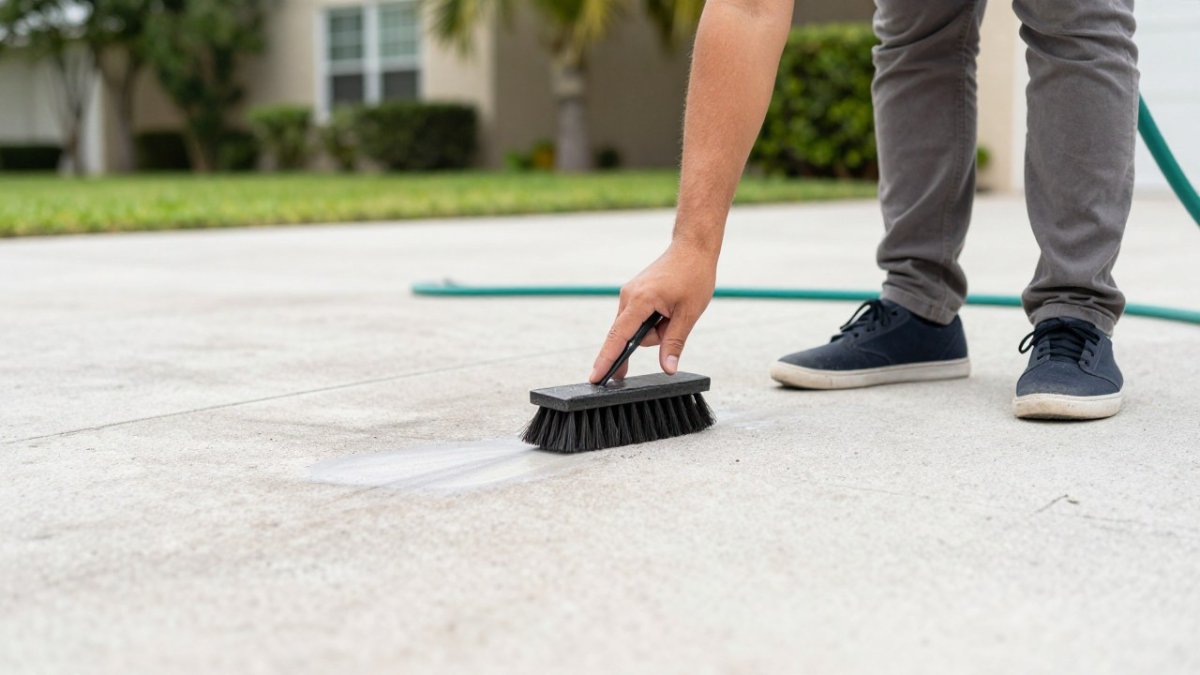
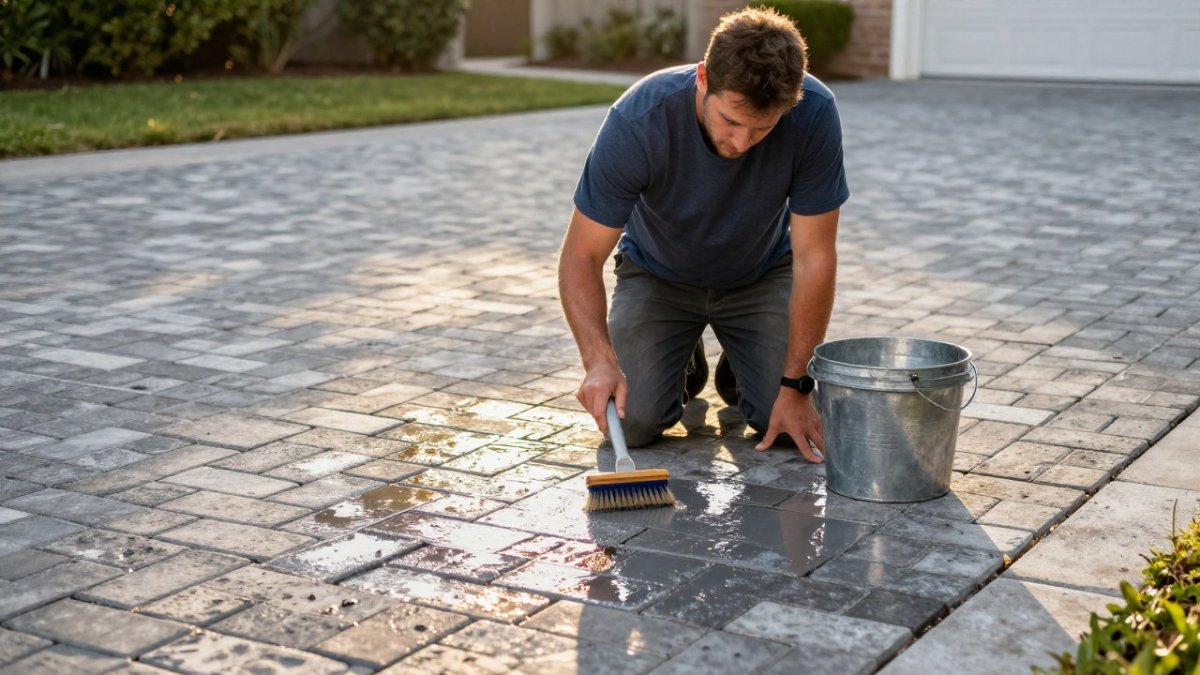
Start with a soft-bristle broom to remove leaves, sand and loose debris. Follow with a garden hose and a mild, pH-neutral cleaner made for sealed surfaces. Scrub lightly with a soft brush, rinse thoroughly, and let the surface dry.
Avoid harsh chemicals like bleach, acid-based cleaners and strong degreasers unless your installer approves them. These can dull or break down the sealer. Always spot test a small, hidden area first.
Here is a simple routine for most sealed pavers:
- Sweep debris weekly or as needed
- Rinse with a hose every few weeks
- Spot-clean oil and stains within 24 hours
- Use a pH-neutral cleaner for deeper cleaning
- Rinse fully so no cleaner residue remains
Watch out: Pressure washers can etch sealer and force sand out of joints. Use the lowest setting and keep the nozzle moving, or skip pressure washing your sealed pavers altogether.
For a broader look at cleaning schedules and results, see our professional driveway cleaning guidance.
Pressure Washing Sealed Pavers: Settings and Limits
Pressure washing can clean sealed pavers well, but only with care. Too much pressure removes sealer, etches the surface and blasts joint sand away.
Use a wide fan tip, keep the wand moving and hold it a safe distance from the surface. Work with the grain of the pavers, and keep pressure low enough that the sealer stays intact.
Limit pressure washing to once or twice a year. Between cleanings, rely on sweeping and hose rinsing. After pressure washing, check the joints and refill sand if needed, since a loss of joint sand can lead to shifting pavers.
Many homeowners also ask about washing roofs, walls and other surfaces around the property. Soft washing uses low pressure and a gentle cleaning solution, which suits many exterior surfaces better than high-pressure methods.
Pros and Cons of Common Cleaning Agents
Choosing a cleaning agent affects both appearance and sealer life. Here is how the most common options compare:
| Cleaning Agent | Pros | Cons | Best Use |
|---|---|---|---|
| pH-neutral paver cleaner | Safe for sealer, gentle on joints | Slower on heavy stains | Routine cleaning |
| Mild dish soap and water | Easy to find, low risk | Can leave film if not rinsed well | Light spot cleaning |
| Degreaser | Strong on oil stains | Can strip or dull sealer | Only with installer approval |
| Bleach or acid cleaners | Removes some stains quickly | Damages sealer and can discolor pavers | Generally avoid |
| Plain water and hose | No residue, very safe | Limited on grime | Regular rinsing |
Many homeowners reach for the strongest product they can find. That usually backfires. Start mild, and step up only when needed.
A Maintenance Schedule for Sealed Pavers
A one-size-fits-all schedule rarely works because sealed pavers age differently depending on sealer chemistry, paver porosity, shade, traffic, and exposure to pool water or vehicle fluids. Use the baseline below, then adjust using the modifiers that follow.
Baseline aftercare schedule for professionally sealed pavers
- First 24-72 hours: Keep all foot traffic off the surface. No furniture, grills, planters, or vehicles. If rain is forecast, cover the area only if your installer approves a breathable cover; otherwise monitor and report any clouding immediately.
- First week: Resume light foot traffic only after the installer confirms the sealer has cured. Sweep weekly with a soft-bristle broom. Wipe up any spills with a soft cloth and plain water.
- First month: Rinse with a garden hose every two weeks. Inspect joints for sand loss and check for uneven sheen or tackiness. Do not pressure wash or use any cleaner stronger than a pH-neutral product.
- Ongoing monthly: Rinse with a garden hose, spot-clean stains within 24 hours, and check for standing water that signals drainage issues.
- Every 3 to 6 months: Clean with a pH-neutral paver cleaner, inspect joint sand, and look for early signs of sealer wear such as reduced water beading.
- Yearly: Schedule a professional inspection or cleaning, refill joint sand as needed, and evaluate whether resealing is due.
- Every 3 to 5 years: Plan a professional resealing check, sooner under heavy exposure.
Adjusting the schedule by sealer type
Water-based sealers and solvent-based or acrylic sealers have different care needs, so confirm the product type and its care instructions with your installer. Polymeric sand combined with a sealer requires extra attention to joint integrity; avoid any method that blasts sand out.
Adjusting by paver material and site conditions
- Concrete pavers: Generally dense and predictable; standard schedule applies.
- Clay or brick pavers: More porous and can absorb stains faster; spot-clean promptly and consider more frequent pH-neutral cleaning.
- Driveways: Vehicle traffic, oil drips, and tire marks mean monthly rinsing and quarterly joint checks.
- Pool decks: Chlorinated or salt water, sunscreen, and constant moisture call for more frequent rinsing and a watch for slippery areas.
- Shaded or tree-covered areas: Less sun drying means more sweeping and a closer eye on moisture, mold, and joint sand loss.
- Full-sun exposures: Faster sealer wear from UV; check water beading more often.
Watch out: Skipping joint inspections is a common mistake. Loose or missing joint sand lets pavers shift, and that damage can be costly to fix. If you notice sand loss after a rinse or storm, refill with the same joint sand your installer used and avoid pressure washing until the joints are stable.
How Often to Reseal Pavers and Signs It Is Time
Resealing intervals depend on sealer type, paver material, traffic, and exposure, so your installer can give you the most accurate timeline for your surface.
Observable signs that sealer wear is advancing
- Water no longer beads on the surface; it darkens or soaks in.
- Stains penetrate instead of wiping away.
- The finish looks dull, patchy, or washed out in high-traffic lanes.
- Color fades or becomes uneven across the surface.
- Joint sand is shallow, loose, or washing out after rain.
- Small areas of sealer lift or peel at edges and transitions.
Distinguishing normal wear from application failure
Normal wear tends to be gradual and concentrated in high-traffic or sun-exposed areas. Application failure often shows up as haze, tackiness, peeling sheets, or uneven sheen within weeks or months of sealing.
When to call the installer versus when to schedule routine resealing
Call the installer promptly for haze, tackiness, peeling, slippery areas that were not slippery before, or joint-sand loss that continues after refilling. These can indicate application issues or drainage problems that a DIY fix could worsen.
Troubleshooting after professional application
- Haze or cloudiness: Often caused by moisture trapped during cure or over-application. Do not apply more sealer. Contact the installer for evaluation.
- Tackiness: Can result from incomplete cure, high humidity, or product incompatibility. Keep traffic off and call the installer.
- Peeling: Usually indicates adhesion failure or surface contamination before sealing. Do not pressure wash or strip; let the installer assess.
- Slippery areas: Some sealers become slick when wet. Keep the surface rinsed and free of algae; ask the installer about anti-slip additives or alternative products for pool decks and ramps.
- Joint-sand loss: Refill with the same sand type and avoid blasting water into joints. If loss recurs, the installer may need to check drainage or sand installation.
Keep in mind that the right resealing interval depends on the sealer type, the paver material, and your local conditions.
Booking Your Professional Resealing Check With Freedom Wash Club
A professional check takes the guesswork out of paver care. A technician can examine sealer condition, joint sand, drainage and staining, then recommend cleaning or resealing based on what they find.
Freedom Wash Club is a locally owned and operated South Florida pressure cleaning and paver sealing company with more than 10 years of experience. The company is licensed and insured, and it offers easy scheduling by phone or text. You do not need an in-person estimate to get started. Our team also stands behind its work with a 100% satisfaction guarantee.
If you are ready to protect your investment, request your free quote and we will help you decide whether your pavers need cleaning, resealing or both.
For paver sealing aftercare, the most effective routine is simple: keep surfaces clean with gentle methods, check joints and sealer condition each year, and reseal on time. Freedom Wash Club is ready to help with the professional side whenever you need it.
Frequently Asked Questions
How long should I wait before using pavers after professional sealing?
Most sealers need a cure period before the surface can take foot traffic, furniture or vehicles. Times vary by product and weather, and humidity and heat speed or slow drying. Check the installer’s written instructions first, since they know the exact sealer used. Avoid rinsing, hosing or pressure washing during this window, and keep pets and heavy items off the surface until the installer confirms it is ready. Rain shortly after application can leave marks, so ask the installer what to do if a storm arrives during the cure period.
How do I clean sealed pavers without damaging the sealer?
Sweep debris regularly and rinse with a garden hose on a gentle setting. For stains, use a pH-neutral cleaner recommended for sealed pavers, and avoid harsh acids, bleach or degreasers unless the installer approves them. Test any product on a small, hidden area first. Scrub gently with a soft-bristle brush, rinse thoroughly and let the surface dry. Harsh chemicals and aggressive scrubbing are the most common causes of dull or peeling sealer.
How often should sealed pavers be resealed?
Resealing intervals depend on the sealer type, foot and vehicle traffic, sun exposure and how well the surface is maintained. Many sealed paver surfaces are reviewed every few years, but the schedule should follow the installer’s recommendation and the condition of the surface, not a fixed calendar date. Look for wear before you reseal, and have a professional confirm whether a maintenance coat or a full reseal is needed. Freedom Wash Club can inspect your surface and advise on timing.