Table of Contents
- Your First 48 Hours After a Professional Paver Cleaning
- Paver Joint Sand Maintenance: The Step Most Homeowners Skip
- Paver Sealing After Cleaning: Timing, Compatibility, and Cure Times
- Choosing the Best Cleaner for Driveway Pavers
- How Often to Clean Pavers and What Routine Upkeep Looks Like
- Preventing Weeds, Moss, and Stains Between Cleanings
- Maintenance Tailored to Paver Material and Finish
- Conclusion
- Frequently Asked Questions
Last Updated: October 21, 2026
Your First 48 Hours After a Professional Paver Cleaning
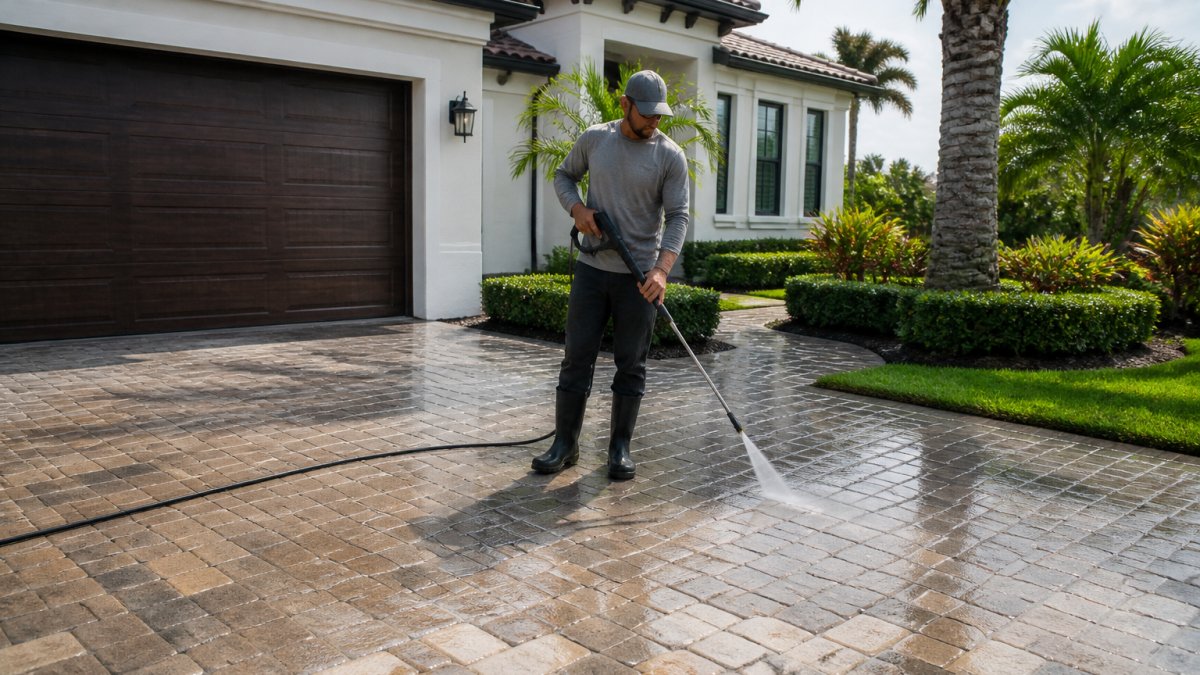
The first 48 hours after a professional cleaning decide how long your driveway pavers stay looking new. That window is when joint sand settles, trapped moisture lifts, and any sealer needs to bond without interference.
This guide from Freedom Wash Club covers exactly what to do in that window, and what to avoid. We have over a decade of experience cleaning and sealing driveways, pool decks, and patios, and we’ve seen the same mistakes show up again and again.
Here is the short version: stay off the surface for at least 24 hours, sweep rather than wash, and check the joints before you do anything else. The rest of this guide walks you through each step in order.
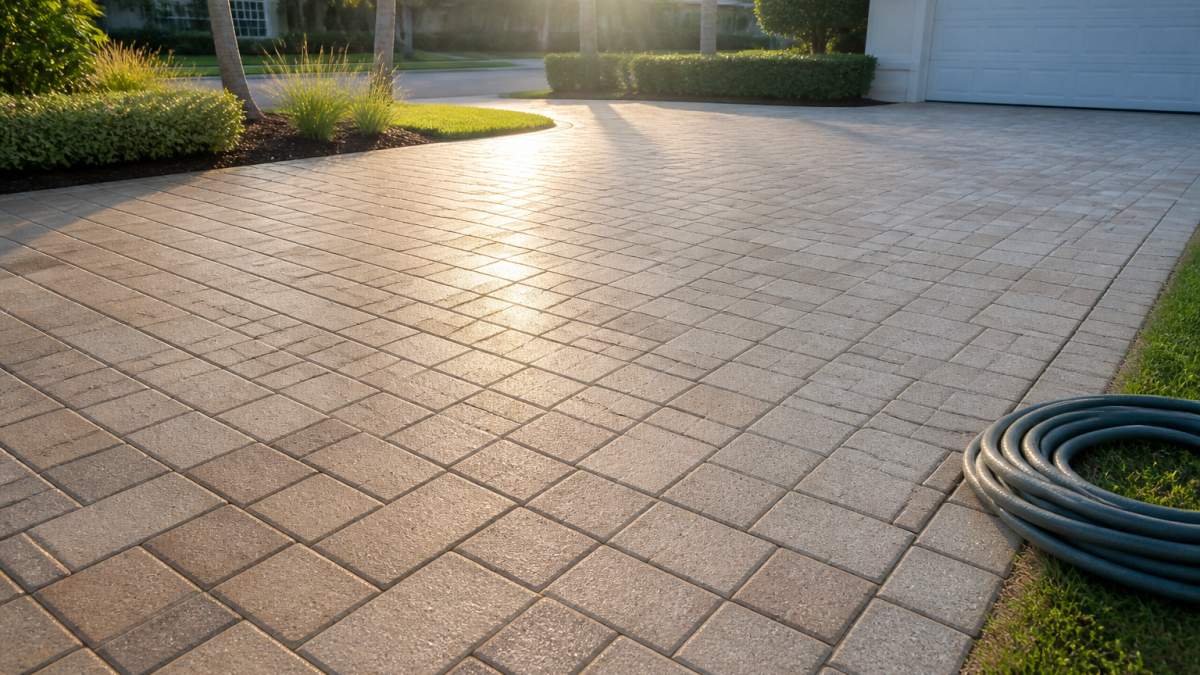
Do not hose down fresh joints in the first 24 hours. Water infiltration into loose joint sand washes the bedding out and undoes the cleaning you just paid for.
Your 48-hour checklist:
- Keep cars and foot traffic off the surface for at least 24 hours
- Let rain do its job, but never spray the pavers yourself
- Sweep loose sand back into the joints after the surface dries
- Look for low spots or sand displacement before sealing
- Wait for a fully dry surface before any sealer goes down
Paver Joint Sand Maintenance: The Step Most Homeowners Skip
Joint sand is the structural glue of a paver driveway. It locks pavers against lateral movement, blocks weed seeds, and channels water across the surface instead of into the bedding layer. After a professional cleaning, especially one that used pressure, some sand loss is normal. The question is whether it is cosmetic or structural.
How to tell if cleaning displaced too much sand:
- Joints sit more than a finger-width (about 1/2 inch) below the paver surface.
- Sand is visibly piled in low spots or washed to the driveway edge.
- Pavers rock slightly underfoot or show widened gaps after rain.
- Weeds appear within two weeks of cleaning in joints that were previously clean.
If you see any of these, refill before the next rain event.
Choosing replacement sand:
Polymeric sand is the default for driveways because it hardens slightly after activation and resists washout. It costs more per bag and requires careful installation, overwatering can ruin the bond. Plain sand is cheaper and easier to apply but needs topping up more often, especially after heavy rain or another cleaning. For natural-stone pavers, use a fine polymeric sand rated for stone to avoid scratching the surface.
Step-by-step refill without damaging joints:
- Wait until the surface and joints are completely dry, at least 24-48 hours after cleaning or rain.
- Sweep sand across the pavers with a push broom, working it into the joints at a 45-degree angle.
- Fill joints until they sit flush with the paver surface, not mounded above.
- Sweep off all excess sand from the surface; leftover sand can haze the pavers.
- If using polymeric sand, mist lightly with a hose according to the product label, never flood the joints.
- Keep traffic off for the cure time listed on the bag, typically 24 hours for foot traffic and 48-72 hours for vehicles.
Check joints after the first heavy summer rain, not before. That storm is the best test of whether your sand is holding or washing out.
If a professional cleaning is scheduled, ask the contractor whether they plan to refill joints as part of the service or whether that is a separate step. Many cleaning-only packages leave sand replacement to the homeowner, and that is where most driveways start to fail.
Paver Sealing After Cleaning: Timing, Compatibility, and Cure Times
Paver sealing after cleaning works only when the surface is bone dry. Seal too early and trapped moisture clouds the finish or causes the coating to peel within a season.
Wait at least 48 to 72 hours after cleaning before sealing. In humid summer weather, give it longer. A simple test: press a dry paper towel to the pavers. If it comes up damp, wait.
Compatibility matters just as much as timing. Water-based sealers work on most concrete pavers and dry faster. Solvent-based sealers penetrate deeper but need longer cure times and stronger ventilation. Never apply a new sealer over an old acrylic coating without checking with the manufacturer first.
Cure times vary by product, so follow the label. As a rule, keep traffic off for 24 hours and vehicles off for 48 to 72 hours. Cold nights and high humidity stretch those windows.
Choosing the Best Cleaner for Driveway Pavers
The best cleaner for driveway pavers is one that lifts dirt without stripping joint sand or dulling the surface. Mild is almost always better than strong.
For routine upkeep, mix a few drops of dish soap into a bucket of warm water. For organic stains like algae or leaf marks, diluted vinegar works well. For oil, use a liquid degreaser made for masonry and let it sit before scrubbing.
Avoid these:
- Muriatic acid on concrete pavers, which can eat the surface
- Bleach-heavy mixes that stain and kill nearby plants
- Any cleaner that leaves the surface slick or filmy
Never mix bleach and ammonia-based cleaners. The fumes are toxic, and the combo can permanently discolor pavers.
Always rinse runoff away from storm drains, plants, and pet areas. A pH-balanced, paver-safe cleaner is the safest default.
How Often to Clean Pavers and What Routine Upkeep Looks Like
Most driveways need a full cleaning once or twice a year, with spot cleaning in between. In humid climates with heavy summer rain, plan on the higher end.
Routine upkeep is simple:
- Sweep surface debris weekly
- Rinse with a garden hose monthly
- Spot-treat stains as soon as you see them
- Check joint sand after every storm
A Simple Seasonal Maintenance Schedule
| Season | Task | Frequency |
|---|---|---|
| Spring | Full wash and joint sand check | Once |
| Summer | Spot clean stains, rinse after storms | Monthly |
| Fall | Clear leaves, sweep joints | Weekly |
| Winter | Check for frost damage, reseal if needed | Once |
Preventing Weeds, Moss, and Stains Between Cleanings
Weeds and moss grow where sand is thin and water sits. Fix the sand and you fix most of the problem.
Pull weeds by hand before they seed. For moss, scrub with a stiff deck brush and a diluted vinegar solution, then rinse. Keep gutters clear so water flows away from the driveway instead of pooling on it.
For oil stains, blot immediately with an absorbent material, then apply a liquid degreaser. The longer oil sits, the deeper it soaks in.
The cheapest paver maintenance is prevention: full joints, good drainage, and fast stain response. Everything else is repair.
Maintenance Tailored to Paver Material and Finish
Not all pavers behave the same after a professional cleaning. Concrete, clay, and natural stone each have different tolerances for cleaners, pressure, and sealers. Treating them identically is how homeowners end up with etched surfaces, faded color, or failed sealer.
Concrete pavers:
- Cleaners: Mild dish soap or a pH-neutral paver cleaner. Avoid muriatic acid, it can eat the cement binder and leave a permanently rough surface.
- Pressure: Keep the wand moving with a wide fan tip (25-40 degrees). Stay below 2,000 PSI on the surface; higher pressure can strip the top layer and expose aggregate.
- Sealers: Water-based acrylic sealers are common and dry faster. Solvent-based penetrating sealers work but need longer cure times and good ventilation.
- Watch for: Efflorescence (white powdery stains) after cleaning, brush it off dry rather than washing it back into the joints.
Clay pavers:
- Cleaners: Mild soap and water. Avoid acidic cleaners that can dull the clay surface.
- Pressure: Clay chips easily at edges. Use lower pressure (under 1,500 PSI) and a wider tip, and never hold the wand in one spot.
- Sealers: Penetrating sealers are usually preferred because film-forming coatings can trap moisture in clay and cause spalling.
- Watch for: Chipped corners after cleaning, these are entry points for weeds and should be replaced or reset.
Natural stone (travertine, bluestone, flagstone):
- Cleaners: Stone-specific pH-neutral cleaner. Never use acidic cleaners, they etch limestone and travertine.
- Pressure: The gentlest setting of all. Many stone surfaces scratch or pit under pressure; a soft wash or low-pressure rinse is safer.
- Sealers: Penetrating sealers rated for stone. Test a small area first, some sealers darken stone permanently.
- Watch for: Water spots and scratches on polished or honed finishes. These show every mark and need faster blotting.
Finish matters too:
Smooth or polished surfaces show scratches and water spots faster than textured ones. Sealed pavers need reapplication every few years, while unsealed pavers need more frequent joint sand checks. If your driveway was sealed after cleaning, avoid harsh cleaners that break down the coating, mild soap and a soft brush are usually enough for routine upkeep.
Safe pressure-washing limits and contractor follow-up:
A safe rule is to keep residential pressure washing under 2,000 PSI with a fan tip, and lower for clay and stone. After a professional cleaning, ask the contractor:
- What pressure did you use, and did you use a surface cleaner or a wand?
- Did you refill joint sand, or is that a separate service?
- How long should I wait before sealing?
- What cleaner did you use, and is it safe for my paver material?
These questions catch problems early, before a small sand loss becomes a wobbly paver or a failed sealer.
Match your cleaner, pressure, and sealer to the paver material, not to a generic driveway routine. The wrong product on the wrong surface is the fastest way to undo a professional cleaning.
Conclusion
Keeping driveway pavers clean after a professional job comes down to a few habits: stay off the surface for 48 hours, keep joint sand full, seal only when dry, and treat stains fast.
Freedom Wash Club handles driveway cleaning, paver sealing, pool deck cleaning, house wash and exterior home cleaning, and soft wash roof cleanings for homeowners and property managers across South Florida. We are licensed, insured, and backed by a 100% satisfaction guarantee.
Ready to protect your pavers? Call or text Freedom Wash Club today for your free quote.
Frequently Asked Questions
How long should you wait before sealing pavers after cleaning?
Pavers need to be completely dry before sealing, and joint sand must be settled first. Wait at least 24 to 48 hours after cleaning, and longer in humid or rainy weather. The surface should show no dark patches or damp joints. Sealing over trapped moisture causes clouding and peeling. If you had a professional cleaning, confirm the recommended dry window with the crew, since the cleaner used and the amount of water applied both affect drying time.
When should joint sand be replaced after paver cleaning?
Pressure washing removes some joint sand, so check the joints once the pavers are dry. If the sand sits more than about a quarter inch below the paver surface, or you can see gaps along the edges, it is time to replenish. Sweep polymeric sand into the joints, compact it, and mist lightly to activate. Replacing sand after cleaning, rather than before, keeps the fresh sand from washing out during the wash itself.
Can you pressure wash driveway pavers yourself?
You can, but it is easy to damage pavers with the wrong pressure or nozzle. A wide fan tip and moderate pressure are safer than a narrow pinpoint stream, which can etch the surface and blast out joint sand. Keep the wand moving and work at an angle. For stubborn stains, mold, or a large driveway, a professional cleaning is usually the safer choice and protects both the pavers and the joint sand.
How do you keep weeds from growing between pavers?
Weeds take root in joint sand that has washed out or stayed damp. Keeping joints filled with polymeric sand blocks most growth, and fixing drainage so water does not pool helps too. Pull weeds by hand before they seed, and avoid letting organic debris collect in the joints. For heavy regrowth, a targeted weed treatment on the joints, applied carefully to protect surrounding plants, works better than repeated pulling.