Table of Contents
- Why Paver Color Fading Happens (and What Speeds It Up)
- How to Clean Pavers Without Stripping Their Color
- How to Seal Pavers to Lock In Color
- How Often to Seal Pavers for Lasting Color
- How to Restore Faded Pavers That Have Already Lost Color
- Preventing Weeds and Stains That Dull Paver Color
- Common Mistakes That Cause Fading After Sealing
- Conclusion
- Frequently Asked Questions
Last Updated: October 17, 2026
Why Paver Color Fading Happens (and What Speeds It Up)
Paver color fading is the gradual loss of surface pigment and finish on brick pavers and paving stones, and it almost always traces back to sun, water, and wear working together. At Freedom Wash Club, we see the same pattern across South Florida driveways and pool decks: the color goes flat before the surface actually fails.
The sun does the most damage.
Ultraviolet light breaks down the pigment layer on the face of each paver. That layer is thin. Once it wears through, the aggregate underneath shows, and the color looks washed out.
Water does the second half. Rain soaks into the joints and the paver body. When moisture sits in the joints, it feeds algae and mold, and that dark film hides whatever color is left.
Fading is rarely one problem. It is pigment loss from UV plus a dirty, moisture-heavy surface. Fix only one and the color still looks dull.
Sun, Water, and Wear: The Three Main Causes
Here is what speeds up fading on a typical driveway:
- Direct sun exposure. South-facing surfaces fade faster than shaded ones.
- Standing water. Poor drainage keeps joints wet and grows algae.
- Foot and vehicle traffic. Abrasion wears down the color layer over time.
- Harsh cleaning. Pressure washing too hard strips the surface.
- Deicers and chemicals. Salt and strong cleaners dull the finish.
The good news: sealing slows all three. The bad news: sealing over a dirty or wet surface locks in the problem instead of the color. That is where most DIY jobs go wrong.
How to Clean Pavers Without Stripping Their Color
Clean pavers gently and let chemistry do the work, not pressure. The goal is to lift dirt, algae, and stains without blasting away the color layer that is still there. A common mistake is turning the pressure up to full and holding the wand close. That etches the surface and leaves permanent streaks. You cannot seal a streak away.
Here is how we would clean them:
- Sweep off loose debris and pull weeds from the joints.
- Apply a mild paver-safe cleaner and let it dwell. Never let it dry on the surface.
- Scrub joints with a stiff brush to lift soil buildup and old joint sand.
- Rinse with moderate pressure and keep the wand moving.
- Let the surface dry fully before any sealing work.
For mold, algae, and stubborn stains, a soft wash approach is safer than high pressure. It kills the growth at the root so it does not bounce back. That is the same principle we apply during a house wash and exterior cleaning when mold and mildew need to go without damaging the surface.
Match the Cleaner to the Paver and Joint Material
Not all pavers clean the same way. Concrete pavers tolerate mild acidic cleaners better than clay or natural stone, which can etch or discolor. Sand-filled joints need a gentle rinse so you do not wash out the joint sand; polymeric sand joints can be damaged by harsh solvents or excessive pressure. Always test a small area first and follow the cleaner label for dilution and dwell time.
Pressure, Dwell Time, and Drying
Keep pressure low enough to avoid marking the surface, usually a fan tip and moderate pressure is enough. Let cleaners dwell for the label-recommended time, typically a few minutes, but never let them dry. Rinse thoroughly and allow the pavers to dry completely before sealing. Drying can take 24 to 48 hours depending on weather and shade.
Sealing over damp pavers traps moisture. The sealer clouds, peels, and the color looks worse than before. Check for dry joints before you open a bucket.
How to Seal Pavers to Lock In Color
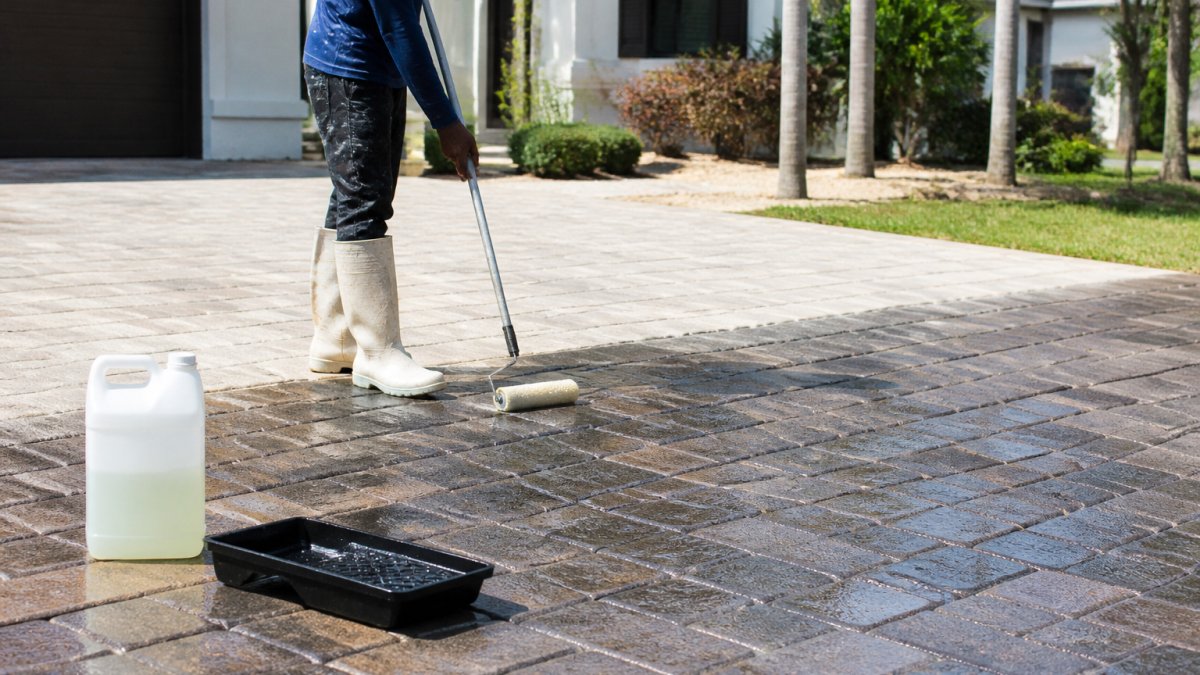
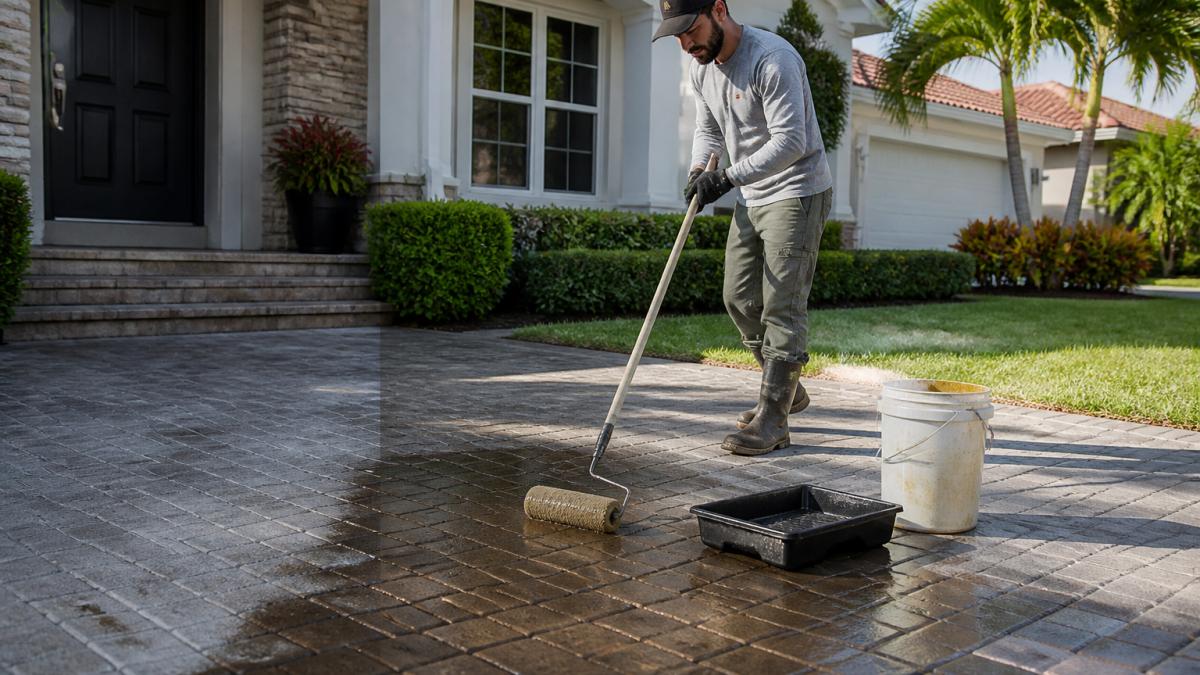
Sealing pavers locks in color by forming a protective film that blocks UV and sheds water. But the sealer only performs as well as the surface underneath it. Prep is the whole job.
Surface Prep, Weather Windows, and Curing Time
Get these steps right and the color holds for years:
- Clean and dry first. No sealer goes down on a wet or dirty surface.
- Refill joints with joint sand or polymeric sand. Polymeric sand hardens and blocks weed growth and water infiltration.
- Check the weather. Apply in dry conditions with no rain expected during curing. Avoid full sun on a hot surface.
- Apply two thin coats. Thin coats cure better than one heavy coat. Let the first coat dry per the label before the second.
- Respect curing time. Keep traffic off until the sealer fully cures. Foot traffic and vehicles too early leave marks that never come out.
Sealer type matters too. A quality penetrating sealer soaks in and protects without a plastic look. A film-forming sealer adds gloss but can peel if moisture gets under it. Match the sealer to your paver type and the manufacturer’s guidance.
How Often to Seal Pavers for Lasting Color
Most paver driveways need resealing every two to three years, though sun exposure and traffic can shorten that. Pool decks and heavily used driveways often need it sooner.
Watch for the signs instead of guessing:
- Water stops beading on the surface
- Color looks chalky or dull
- Joint sand is washing out
- The surface feels rough and dry
When you see two or more of those, it is time. Skipping reapplication lets UV work on unprotected pavers again, and the fading returns fast.
Test before you commit. Pour a cup of water on the pavers. If it soaks in quickly instead of beading, the sealer has worn thin.
How to Restore Faded Pavers That Have Already Lost Color
Restoring faded pavers means cleaning, correcting, and then protecting. You cannot add pigment back with a mop, but you can bring the color back to life.
Here is the realistic path:
- Deep clean to remove the algae film hiding the color.
- Treat stains with a paver-safe cleaner, not bleach.
- Consider a color-enhancing sealer that deepens the tone of the stone.
- Replace badly worn pavers if the surface layer is gone.
- Reseal once everything is clean and dry.
A color-enhancing sealer is the closest thing to a reset for dull pavers. It brings out the natural tone and adds UV protection at the same time. For pavers that are truly worn through, replacement of the worst pieces is the honest answer.
This is where professional help pays off. A proper paver restoration and sealing process starts with an assessment of what the surface can actually recover. Freedom Wash Club handles driveway cleaning, pool deck cleaning, and paver sealing as one job, so the clean and the seal happen in the right order with the right cure time.
Preventing Weeds and Stains That Dull Paver Color
Weeds and stains are the quiet killers of paver color. Weeds push up through joints, widen them, and let in more water and soil. Stains from oil, rust, and mildew sit on the surface and pull the eye away from the color. But preventing them requires understanding what actually keeps weeds out.
Sealer vs. Joint Material: What Really Blocks Weeds
A common misconception is that sealing alone prevents weeds. In reality, the sealer protects the paver surface from UV and water, but it does not fill the joints. Weeds grow in the joint space, where seeds land in accumulated soil and moisture. The real defense is a properly filled joint, using joint sand or polymeric sand, that leaves no room for seeds to germinate. Polymeric sand hardens and resists washing out, but it can degrade over time and needs replenishment. Sealer can help by shedding water and reducing soil buildup, but it is not a weed barrier.
Why Weeds Return After Sealing
Even after sealing, weeds can return from windblown seeds landing on the surface, soil accumulating in low spots, joints cracking or settling, poor drainage that keeps joints wet, or weeds rooted in the base below the pavers. To troubleshoot, inspect joints for gaps, refill with polymeric sand as needed, improve drainage away from the surface, and pull weeds promptly before they establish. For weeds already rooted deep, hand-pulling or targeted herbicide may be necessary.
Stopping Stains That Dull Color
Oil, rust, and mildew stains set into the surface if left. Clean spills quickly with a paver-safe cleaner, not bleach. Keep joints full and maintain drainage so water runs off instead of pooling. Routine exterior home cleaning, including house wash and driveway cleaning, keeps the film from building and makes stains easier to remove.
Homeowners in HOA communities who need a clean, uniform driveway year-round without fines or last-minute scrambles.
Common Mistakes That Cause Fading After Sealing
Fading after sealing usually comes down to a handful of avoidable errors. Here is what we see most:
| Mistake | What Happens | The Fix |
|---|---|---|
| Sealing a wet surface | Cloudy, peeling finish | Wait for fully dry joints |
| Skipping the clean | Dirt locked under sealer | Clean and rinse first |
| One heavy coat | Puddles and uneven cure | Two thin coats |
| Sealing in direct sun | Bubbles and streaks | Work in cooler hours |
| Letting traffic on early | Tire and foot marks | Respect full cure time |
| Ignoring joint sand | Weeds and water return | Refill joints before sealing |
Each one is fixable. None of them require special tools, just patience and the right order of steps.
Conclusion
Keeping paver color sharp is a maintenance habit, not a one-time project. Sun, water, and traffic will always work against you, and the only defense is a clean surface, full joints, and a sealer that is reapplied on schedule.
That is exactly the work Freedom Wash Club does. We are licensed and insured with over 10 years of experience, and we handle driveway cleaning, pool deck cleaning, paver sealing, house wash, and soft wash roof cleaning as a complete exterior package. No in-person estimate needed, and scheduling is as easy as a call or text.
Ready to bring your pavers back to life and keep them that way? Receive your free quote from Freedom Wash Club today.
Frequently Asked Questions
Does sealing pavers prevent color from fading?
Sealing slows fading but does not stop it completely. A quality paver sealer forms a protective film that blocks some UV exposure and reduces water infiltration, which helps preserve color. However, sunlight still reaches the surface over time, and sealers wear down from foot and vehicle traffic. Plan to reseal every two to three years and expect some gradual color shift regardless. Sealing works best as part of a routine that also includes regular cleaning and prompt stain removal.
How often should pavers be sealed?
Most paver sealers need reapplication every two to three years, depending on traffic, sun exposure, and the product used. A simple water test tells you when it is time: pour a cup of water on the surface. If it soaks in quickly instead of beading, the sealer has worn thin. High-traffic areas like driveways may need attention sooner than a lightly used patio. Check the surface each spring and reseal before the summer sun does more damage.
Can faded pavers be restored?
Yes, in most cases. Deep cleaning removes the grime and mineral buildup that makes pavers look dull. If the color itself has faded, a color-enhancing sealer can deepen the tone and bring back contrast. Severely worn pavers that have lost their surface layer may need a tinted sealer or replacement of individual stones. A professional assessment helps you decide whether cleaning and sealing will be enough or whether restoration work is needed.
How do you clean pavers without damaging their color?
Use a pH-neutral cleaner and a stiff-bristle brush or a low-pressure washer. Avoid harsh acids, bleach-heavy mixes, and high-pressure nozzles held close to the surface, which can pit the stone and strip color. Sweep debris first, pre-wet the surface, work in small sections, and rinse thoroughly. For stubborn stains like rust or oil, use a cleaner made for that specific stain rather than scrubbing harder. Clean annually to keep dirt from working into the pores.