
Last Updated: October 27, 2026
Quick Summary
To stage a home for a quick sale, start with the first thirty seconds a buyer sees: clear the entryway, porch, and curb line, then declutter and depersonalize the main living areas. A stage home sale works best when each room is cleaned, lit, and arranged around a clear focal point, with exterior work done early.
- Day 1 should cover the entryway, front porch, and curb line, since buyers see these first.
- Remove family photos, personal keepsakes, and extra furniture so buyers can picture themselves living there.
- Replace dim bulbs with warm white bulbs of the same brightness and turn on every lamp.
- Keep the home showing-ready by clearing clutter each evening and making beds before showings.
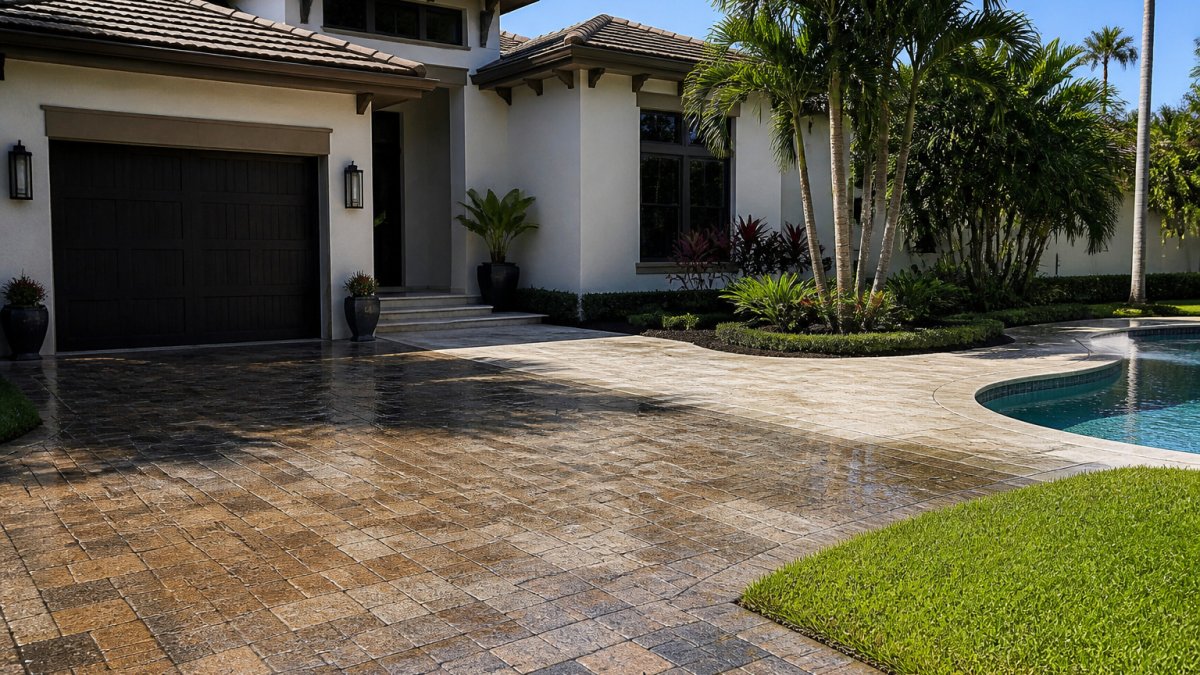
- Exterior cleaning, including house wash, driveway cleaning, and paver sealing, shapes the first listing photo.
Table of Contents
- Start With a Prioritized, Time-Boxed Staging Plan
- Home Staging Checklist: Declutter and Depersonalize First
- Staging a House While Living in It
- Room-by-Room Staging: Furniture, Neutral Colors and Lighting
- Home Staging on a Budget: Where to Spend and Where to Save
- How Long Does It Take to Stage a Home for Sale?
- Preparing Your Home for Listing Photos and Showings
- Booking Your Pre-Listing Cleaning and Exterior Preparation
- Frequently Asked Questions
Selling a house quickly comes down to one thing: how it looks in the first thirty seconds of a showing or a listing photo, and a well-planned stage home sale starts with that first impression. Most buyers decide whether they like a home before they reach the kitchen. Learning how to stage a home for quick sale means making those first impressions work for you. The exterior is often the first thing a buyer sees.
The good news is that staging does not require a huge budget. It requires a clear order of work.
Start With a Prioritized, Time-Boxed Staging Plan
Staging is a set of tasks, and some tasks matter far more than others.
Here is a simple way to sort the work:
- Day 1: Clear the entryway, front porch, and curb line. These are the first things a buyer sees.
- Day 2: Declutter and depersonalize the living room and kitchen.
- Day 3: Deep clean bathrooms, then bedrooms.
- Day 4: Arrange furniture, add lighting, and set out simple decor.
- Day 5: Final walkthrough and photo-ready touches.
Setting a time limit for each stage keeps the project moving, especially when you are preparing a stage home sale on a deadline. A common mistake is spending a week on one closet while the front yard stays neglected.
Home Staging Checklist: Declutter and Depersonalize First
Buyers need to picture themselves living in the space, and personal items make that harder.
Start with these items:
- Remove extra furniture to open up walkways, and see the full pre-listing preparation sequence for steps beyond staging.
- Clear kitchen counters except for one or two decorative items
- Take down family photos and personal keepsakes
- Store out-of-season clothes and bulky storage bins
- Remove refrigerator magnets, kids’ artwork, and collections
The National Association of REALTORS® reports that eighty-three percent of buyers’ agents said staging made it easier for shoppers to envision a property as their future home. National Association of REALTORS® report on home staging
Depersonalizing does not mean making the home feel cold. It means letting the buyer’s imagination fill the space.
Staging a House While Living in It
Most sellers still live in their homes during the process, so staging a house while living in it takes some planning. You will not have every room perfect at once, so focus on the areas buyers see first.
Use these habits to keep the home showing-ready:
- Keep a basket for clutter that you clear each evening
- Make beds and wipe bathroom counters before every showing
- Ask family members to store shoes and bags out of sight
- Plan pet care and food bowls for the day of showings
- Open blinds and turn on lights before buyers arrive
Consistency matters more than perfection.
Room-by-Room Staging: Furniture, Neutral Colors and Lighting
Each room has a job to do. The living room should feel open and comfortable. The kitchen should look clean and spacious. The bedroom should feel like a restful place to sleep. Use neutral colors and simple decor so the room reads as a blank space rather than a showcase of someone else’s taste.
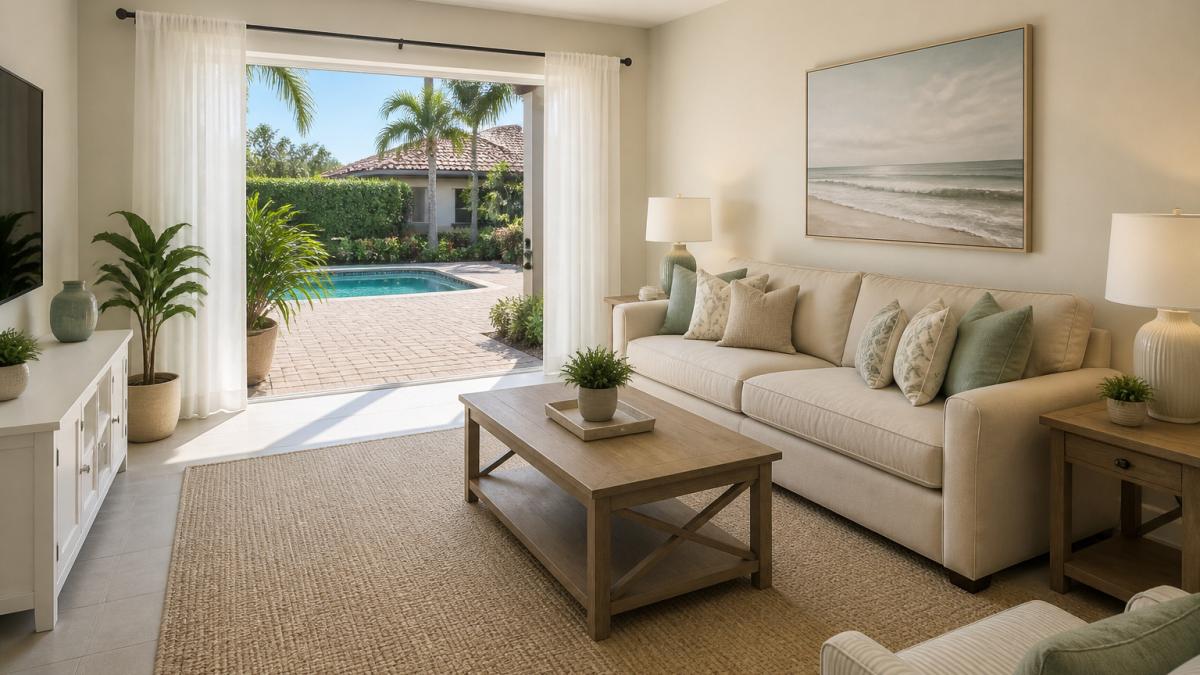
Focus on these details:
- Furniture: Arrange seating around a clear focal point, such as a fireplace or window. Leave enough space to walk around each piece.
- Colors: Choose soft whites, greys, and beiges for walls, bedding, and throw pillows.
- Lighting: Replace dim bulbs with warm white bulbs of the same brightness. Turn on every lamp.
- Decor: Use a few plants, a simple bowl, or a folded throw. Less is usually better.
Making Key Rooms Feel Bigger and Brighter
Small rooms feel larger when they are bright and uncluttered. Open curtains fully, clean windows inside and out, and move heavy furniture away from walls where possible. Mirrors can reflect natural light, but place them carefully so they do not show clutter.
Home Staging on a Budget: Where to Spend and Where to Save
Staging does not require a large outlay, but it does require discipline about where the money goes. The goal is to spend on the items buyers notice first and skip the ones that only feel productive.
A practical way to think about budget is to separate the work into three tiers:
- No-cost changes: Declutter, depersonalize, rearrange furniture, open curtains, and clean windows. These cost only time and are the foundation of every showing.
- Low-cost changes (typically under a few hundred dollars): Fresh neutral paint on scuffed walls, replacement light bulbs in consistent warm-white color temperature, new white towels and bedding, simple plants, and a deep clean of kitchen and bathrooms. These are the items that photograph well and read as “move-in ready.”
- Optional paid help: Professional staging consultations, furniture rental, and exterior cleaning services. These make sense when the home is vacant, when rooms are large and sparsely furnished, or when the exterior has visible dirt, mold, or algae that undermines the listing photos.
Driveway cleaning, house wash, soft wash roof cleaning, pool deck cleaning, and paver sealing all fall into this category. Dirt and organic growth on hardscapes and siding make even a well-staged interior feel neglected, and those are the exact surfaces that show up in the first listing photo.
Where to save:
- Skip major renovations that will not return their cost before listing.
- Avoid buying expensive furniture when rearrangement will do.
- Do not invest in custom decor when a few plants, fresh towels, and a folded throw achieve the same effect.
Where to spend:
- A deep clean of the kitchen, bathrooms, and floors.
- Neutral paint for scuffed or dated walls.
- Consistent warm-white bulbs throughout the home.
- Basic yard work and a clean walkway.
- Exterior cleaning and paver sealing if the driveway, pool deck, or siding show dirt or organic growth.
Before buying anything, walk through the home at the same time of day a buyer would see it. The items that stand out as problems in that walkthrough are the ones worth spending on.
For current pricing on cleaning or exterior work, contact Freedom Wash Club directly for a quote.
How Long Does It Take to Stage a Home for Sale?
The timeline depends on how much decluttering you need and whether you hire help.
Here is a rough guide:
Planning around your listing date helps you avoid last-minute stress. Start the exterior work early so that weather or scheduling delays do not hold up your listing.
Preparing Your Home for Listing Photos and Showings
Listing photos are often the first look a buyer gets. Staging decisions should be made with the camera in mind, not just the in-person walkthrough. A room that feels cozy to live in can photograph as cluttered, and a room that feels sparse in person can photograph as clean and spacious.
Photo-Day Checklist
Use this sequence on the day photos are taken:
- Exterior first: Photograph the front of the home in the morning or late afternoon when the light is even. Make sure the driveway, walkway, siding, and roof are clean and free of visible dirt, mold, or algae. If the pool deck or pavers are part of the listing, they should be cleaned and, where appropriate, sealed before photo day.
- Entry and living room: Clear the entryway completely, open all blinds, and turn on every lamp. Remove personal items from view and make sure furniture is arranged around a clear focal point.
- Kitchen: Clear counters except for one or two simple items. Remove refrigerator magnets, kids’ artwork, and collections. Wipe down all surfaces and make sure the sink is empty.
- Bathrooms: Put out fresh white towels, clear the counters, and close the toilet lids. Remove bath mats that clash with the neutral palette.
- Bedrooms: Make beds with neutral bedding, clear nightstands, and open curtains. Store out-of-season clothes and bulky storage bins out of sight.
- Final pass: Walk through each room as the camera would see it, then remove anything that does not serve the photo.
Before Each Showing
Before every showing, walk through the home as a buyer would:
- Check the front walkway and entryway.
- Turn on lights and open blinds.
- Remove personal items from view.
- Make sure the home smells clean and fresh.
Buyers notice details, and the exterior sets the tone before they step inside. A clean driveway, fresh siding, a soft-washed roof, and sealed pavers can contribute to a home’s exterior appearance. Freedom Wash Club provides professional, licensed, and insured pressure cleaning and related exterior services for residential and commercial properties in South Florida, including house wash, soft wash roof cleaning, driveway cleaning, pool deck cleaning, and paver sealing. You can schedule easily by phone or text, and every job is backed by our 100% satisfaction guarantee.
Stage for the camera first and the showing second. The photos are what get a buyer to the door, and the exterior is what makes the first photo worth clicking.
Booking Your Pre-Listing Cleaning and Exterior Preparation
Curb appeal sets the tone before a buyer steps inside. Dirt, mold, and algae on driveways, walls, and roofs can make a well-kept home look neglected. Freedom Wash Club provides professional, licensed, and insured pressure cleaning and related exterior services for residential and commercial properties in South Florida, including house wash, soft wash roof cleaning, driveway cleaning, pool deck cleaning, and paver sealing. You can schedule easily by phone or text, and every job is backed by our 100% satisfaction guarantee.
Ready to get your home ready for buyers? Contact Freedom Wash Club to schedule your pre-listing cleaning and receive your free quote.
Frequently Asked Questions
Does staging a home increase its sale price?
The National Association of REALTORS® reports that 83% of buyers’ agents said staging made it easier for shoppers to envision a property as their future home. Results vary by market, condition and price point.
What should you do first when staging a home?
Start with decluttering and depersonalizing. Remove excess furniture, small appliances from countertops, and personal items such as family photos and keepsakes so buyers can picture themselves living there. Then deep clean every room, including windows, baseboards and bathrooms. Doing these two steps first costs little and makes every later decision, from furniture placement to paint, easier to judge.
How do you stage a home while still living in it?
Focus on the entryway, living room, kitchen and primary bedroom. Store personal items in closets or bins, keep surfaces clear, and set aside one daily 15-minute reset for showings. Keep a basket of clutter-hiding items ready so the house can be shown on short notice.
How long does it take to stage a home for sale?
Timing depends on the size of the home and how much work it needs. Build in extra time for any repairs or painting.